
Did you know we offer a Google Chrome extension for MarkUp.io?
Hint: now you do. 😃
If you’re like the folks at MarkUp.io, you’re always looking for ways to save time and be more productive. With the MarkUp for Chrome Extension, you can quickly markup and annotate webpages in Chrome on the fly, easily sharing your ideas with other team members.
But how can you ensure you’re getting the most value out of this tool? It starts with Google Chrome and ends in all of your wildest feedback dreams coming true.
Read on for some essential MarkUp for Chrome tips and tricks!
Why Google Chrome?
First of all, why did we create an extension for Google Chrome and not, say, Firefox or Safari? Well, the choice to focus on Google Chrome came, in part, from our users (60% of whom already use Chrome as their primary web browser).
One of MarkUp.io’s most highly-praised advantages is its simplicity, which translates into significant time savings for users. When our team was deciding on building a Chrome extension to annotate webpages, there were a few main issues interfering with MarkUp.io’s simplicity that we wanted to solve:
Make MarkUp.io Always Within Reach. Before the MarkUp for Chrome extension, MarkUp.io wasn’t always directly available to our users when they needed it. So, we wanted to provide a non-intrusive and simple way for users to always access MarkUp.io, create MarkUps, and open existing MarkUps whenever they want, directly from their browser, saving them and their team valuable time.
Make It Easier to Find Pins. We knew we needed to provide additional context to users so they could see exactly what their team was looking at when they made a comment. We found that the most accurate way to take a screenshot is via a browser extension. The MarkUp for Chrome extension was the first and most effective way to provide that much-needed context in a simpler way.
Finally, MarkUp.io performs best on Chrome (it’s faster too). And thus, MarkUp for Chrome was born!
How to get MarkUp for Chrome
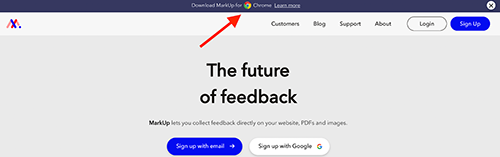
You can find a link to download the extension from our very own homepage.
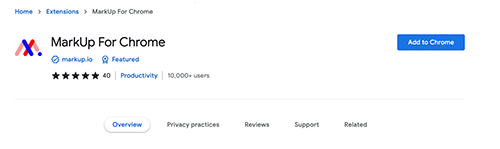
It’s also available on the Chrome Web Store.
To download the extension, follow these steps:
- Navigate to the MarkUp for Chrome extension on the Chrome Web Store.
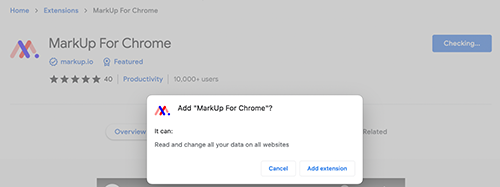
2. Click “Add to Chrome.”
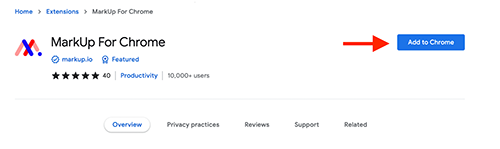
3. A pop-up box will appear; click “add extension.”
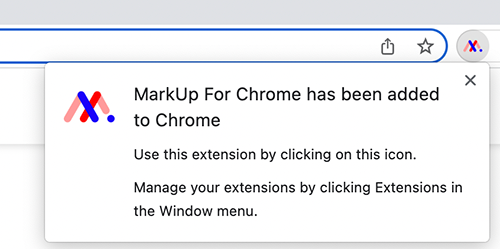
4. There you have it! You can now start quickly and conveniently creating MarkUps of anything displayed on your browser with the MarkUp for Chrome extension.
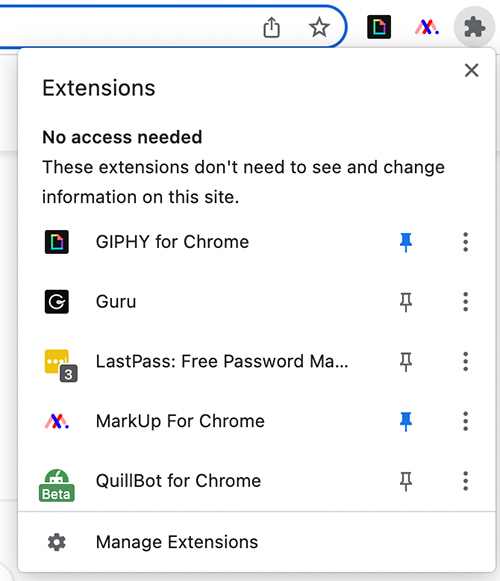
*Pro tip: to easily access the extension, click the puzzle piece in your navigation bar and pin the MarkUp for Chrome extension.
How to annotate on Google Chrome with the extension
So you’ve successfully added the extension – now it’s time to annotate on Google Chrome! Here’s how to create your first MarkUp with the extension:
1. Navigate to the webpage you would like to markup.
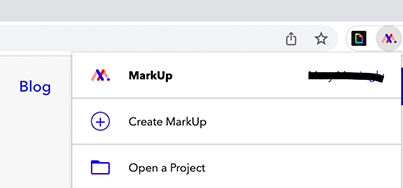
2. Open the extension and click ‘Create MarkUp.’
3. This will open the page in a new tab within MarkUp. Now you can start leaving comments!
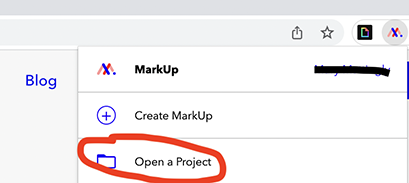
Pretty painless, huh? Further, the Chrome extension isn’t limited to creating new MarkUps. You can also use the Chrome extension to add screenshots to existing projects – just click “Open a Project” from the dropdown menu.
Who should use the MarkUp for Chrome extension?
Not to toot our own horns, but we’re pretty confident that the MarkUp for Chrome extension is a great asset for everyone. Here are some of the most common use cases:
Marketing agencies. Quickly share marketing materials internally and with clients by using the extension to screenshot web content. Providing designs with context will help your clients better understand your approach and artistic vision.
Designers. Getting feedback is often the most painful part of the review process (especially when you don’t have a simple way!). The Chrome extension makes this process easier by taking an automatic screenshot of the part of the markup where a user leaves a new comment so they can refer to it later.
UX writers. MarkUp for Chrome isn’t just for designers! Creating MarkUps with the extension can also make giving feedback on content revision within web applications much easier. Context truly is king!
Developers. It can be difficult to give feedback to a developer when you don’t speak the same language. Offering contextual comments will provide the clarity you may have been lacking before.
Remote teams. Quickly and easily creating MarkUps can be a huge help for teams working across time zones. All feedback is stored in one place so team members can work on requested changes on their own time.
Best practices for using MarkUp for Chrome
One of the best things about the MarkUp for Chrome extension is that it’s pretty easy to use once you get the hang of it. Just remember to follow these tips to get the most out of the extension:
Tip #1: Since MarkUp.io reflects changes as they are made, use the Chrome Extension to generate automatic screenshots with each comment you make. This feature makes locating pins much easier to track and is particularly helpful when:
- The comment was attached to an element that was deleted during the revision process. When this happens, MarkUp.io can no longer connect a pin to the element there, resulting in a comment with no context.
- An element is hidden by another state, such as something a user needs to click to activate, an animation, a pop-up, or something similar.
This is what the screenshot feature looks like:
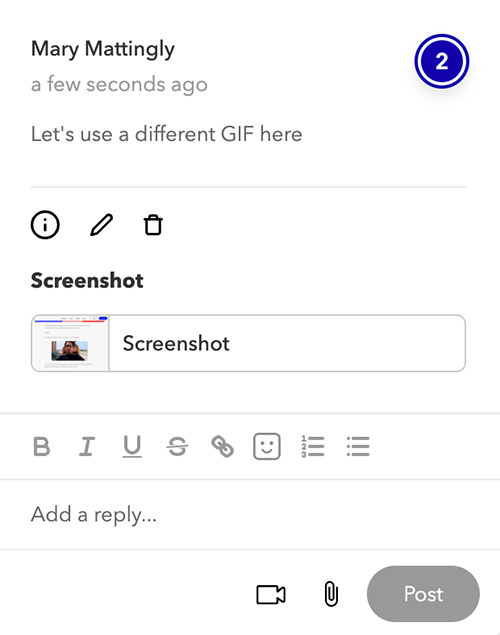
Remember, automatic screenshots are only available with the MarkUp for Chrome extension! (Note: if you don’t want the extension to take a screenshot every time, you can toggle this feature off in your MarkUp.io settings).
Tip#2: When creating a MarkUp with the Chrome Extension, make sure you’re in the right Workspace and not creating a new MarkUp in a Workspace that isn’t relevant.
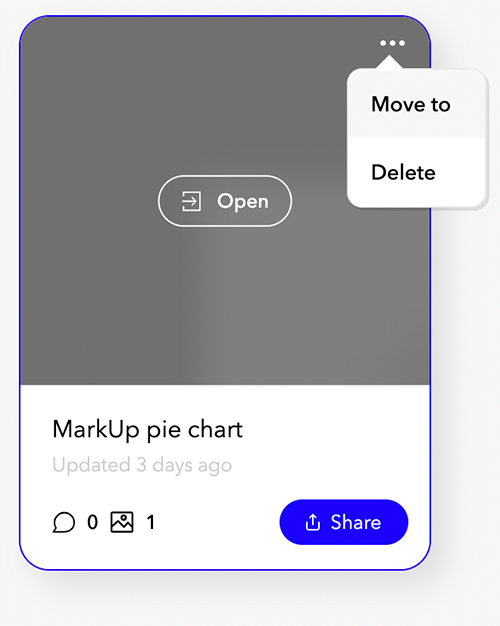
If you accidentally add a new MarkUp to the wrong Workspace, no worries! You can move it to the relevant Workspace by clicking the three dots in the top right corner of your MarkUp preview, then moving the MarkUp to any of the Workspaces you’re a part of.
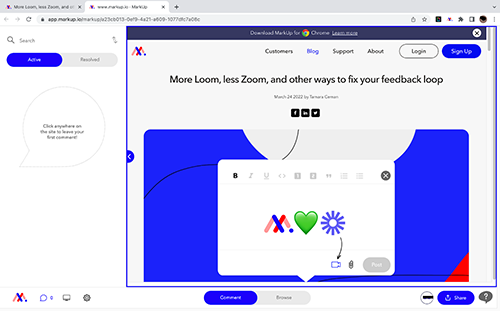
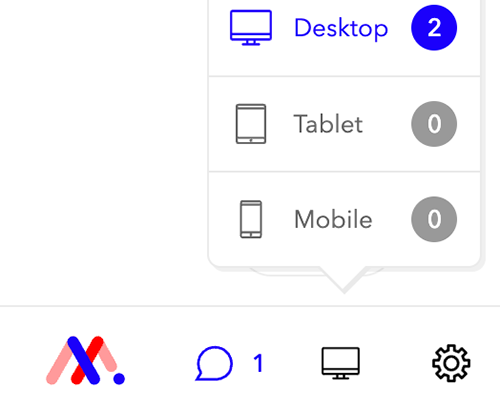
Tip #3: Create and manage comments in different views, like desktop, tablet, and mobile, to give feedback on different formats. You can find these view options at the bottom left of your screen.
Tip #4: Add more context to your feedback by inserting a Loom video with your comment (learn how here!).
Get the extension
If you’re looking for an easy way to annotate on Google Chrome and share feedback with your team, the MarkUp for Chrome extension is a great place to start. It’s fast, efficient, and can save you time when collaboratively reviewing pages.
What are you waiting for? Sign up on MarkUp.io and shorten your feedback loop today ❤️