
Explaining your web design vision to a client verbally or via email is super unproductive.
There, we said it!
Website design is best presented as… well, design — not text or verbal descriptions.
But presenting a live website to a client and risking major revision requests at that advanced stage is not the way to go.
So, what can you do to make your client happy while staying true to your vision?
Meet the ✨ website mockup. ✨
This magical middle ground will help you avoid wasting resources and prevent time-intensive edits.
If you don’t know how to mockup a website, don’t worry! You’re about to find out.
To help you speed up your design process and minimize the feedback loops that accompany mockups, this guide covers:
- What a website mockup is and when you need to create one
- The benefits of integrating mockups into your workflow
- How to mockup a website in four easy steps
Let’s get into it!
Table of contents
What is a website mockup?
A website mockup is a static design prototype of a website or web page. The mockup is generally just a visual representation of what the final product will look like; thus, it is not functional.
It includes main design elements, such as color palettes, fonts, images, and text (or image and text placeholders).
The mockup can be as minimal as the example below or as detailed as you see fit.
The most important thing is to get your vision across and help your team, clients, and other stakeholders imagine the website’s final look.
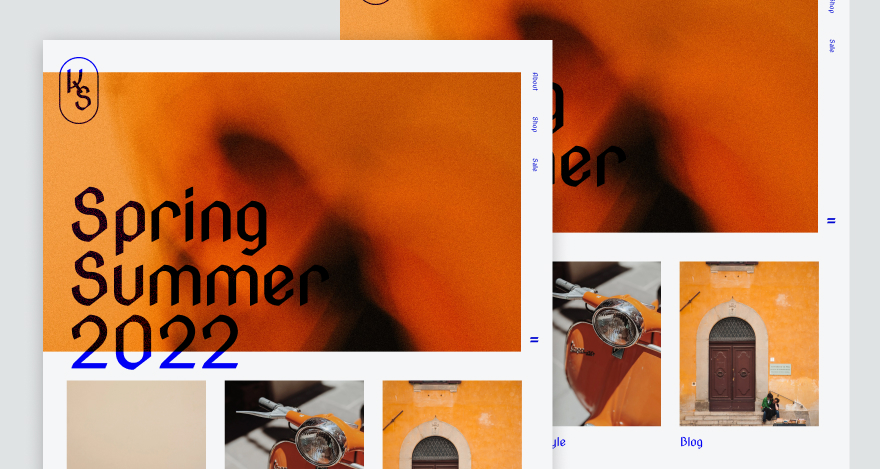
Most mockup examples showcase the color palette, design elements, buttons, navigation menus, and other web design elements that make up a cohesive home page.
With this type of mockup, designers can express their vision without explaining what they’re planning to create in never-ending Zoom calls or email chains.
When do I need to create a website mockup?
Create a website mockup before building a new website or implementing massive design changes to an existing website or web page.
After receiving the project brief and establishing the main project requirements with your team and/or client, you should have a clear picture of what is expected of you as a web designer.
Once you’ve combined your skills, vision, and all other info in the brief, you can start tracing the main elements of the website or web page with tools such as Photoshop.
Once these preliminary sketches are in place, you can start working on your website mockup.
Why is creating website mockups important?
Creating a website mockup comes with many benefits—for you and your team as well as the customer.
Specifically, integrating website mockups into your creative workflow enables you to ensure:
- The overall look of the website is cohesive
- Revision requests can be implemented quickly and easily
- Higher-ups and team members are on the same page
- Feedback is transparent and well organized
- Multiple versions of your design can be easily created
Let’s take a closer look at these advantages and see if they’d benefit your creative workflow in any way.
Ensure visual consistency
With website mockups, it’s easy to make sure all the in-progress web pages will be designed in the same style.
Think about it—a mockup is like a digital board to standardize your ideas. When seeing every page, section, and design element of a website put together side-by-side, it will be easier to tell which elements are out of place.
In short, website mockups help you ensure visual consistency across all web pages.
Make changes easily
Making adjustments to website mockups is much easier than editing a live website.
At the mockup stage, you can make the necessary edits using your design platform of choice right away, while changing something on a live website implies more steps.
Plus, there’s always the possibility of accidentally adding a weird piece of code that makes the whole design look off.
Bring everyone on the same page
Mockups are easy to share with clients, stakeholders, team members, and everyone else involved in the process—especially when using an annotation tool.
For instance, with MarkUp.io, you can share your designs with whoever you want via link or email. Then, your collaborators can leave contextual feedback pinned to sections and elements that need improvement.
Keep feedback organized
When sharing mockups with the right website mockup tool, you can effortlessly keep all feedback in one place, further offering customers and stakeholders higher visibility into your workflow.
For example, MarkUp.io helps you keep track of all the comments added to your MarkUp (even resolved comments!).
Having easy access to feedback history will help you understand your client’s requirements better over time while giving you the opportunity to minimize the requested number of revisions for future projects with the same client.
Create multiple versions with minimal effort
When integrating mockups into your creative process, you have the ability to create multiple versions with minimal effort.
For instance, you can keep the same layout for all versions but play with fonts, colors, and media content to obtain different looks for the same concept.
These are just a few of the benefits you can leverage when creating mockups. Hopefully, it was enough to convince you that mockups can help you streamline your design processes. 🙃
Now let’s see how to actually create mockups by following a simple, beginner-friendly four-step tutorial.
How to mockup a website in 4 simple steps
Creating website mockup designs is easier than you’d expect.
Sure, you have to juggle the project’s requirements, user experience (UX), and a pleasant user interface (UI) design, while somehow meeting everybody’s expectations.
But you know what?
You can relieve some of that pressure by breaking down the UI design mockup process into four steps.
1. Create preliminary sketches and wireframes
To create the best website mockups that help you provide high-fidelity representations of your project plan, you might want to consider starting with wireframes.
Creating quick preliminary design sketches that you can share with stakeholders first will help you save time and ensure you and your clients or higher-ups are agreeing on some basics.
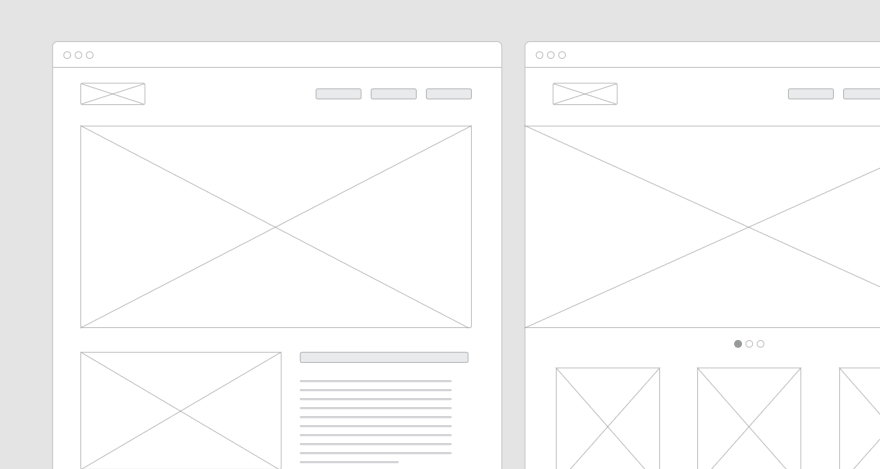
Think of website wireframes as minimal blueprints of a website’s work frame and UI design.
A wireframe typically consists of placeholders for the main design elements to be included in the mockup and it looks something like this:
You can create these skeletal sketches as a preliminary step in mobile app design, web design, graphic design, etc.
This step is not always part of the process, but we definitely recommend it as wireframes are super quick and easy to create and get feedback on.
You can send over multiple wireframe versions for review to figure out which layout best resonates with the stakeholders.
Even though it might look like a waste of time, collecting some constructive feedback at this stage will save you lots of time later in the process. You can think of this phase as calibrating your vision to match the stakeholders’ requirements.
So, how do you create a wireframe?
There are tons of amazing wireframing tools out there to accommodate your design ideas. Some of them even offer wireframe templates, diagrams, charts, and different design element placeholders to make UI planning easy.
Such tools include Adobe XD, Figma, Canva, MockFlow, Balsamiq, etc.
2. Add key design elements
After your wireframe has been approved, you can start working on the actual website mockup. 🥳
To start, replace the placeholders from the wireframe with actual UI elements, such as:
- Text, images, animations, videos, and other types of media content
- High-quality graphic design elements (in their final form)
- Buttons such as CTAs (call to action buttons)
- Contact forms
- Branding elements
At the same time, ensure you’re integrating the agreed-upon color palette and typography so that reviewers get a real feel of what the final design project will look like.
To put these elements together, we recommend you use design tools such as Adobe Photoshop, MockFlow, Moqups, Mockplus, Fluid UI, and the like.
3. Test your design and get feedback
Testing your website mockup is the most important thing—basically the most important reason why website mockups exist. 🙂
You can test your web design mockup using visual feedback and collaboration tools, such as MarkUp.io.
MarkUp.io can be used by designers, developers, and other creative teams for testing and getting feedback before it’s too late for changes.
With MarkUp.io, users are able to create mockup MarkUps of the most popular design file formats, including PSD, AI, EPS, and TIFF.
To upload a mockup into MarkUp.io, you can simply drag and drop your file into your workspace. As soon as you do that, the platform creates a sharable MarkUp of your design.
You can then share the MarkUp with your design team, clients, managers, and everyone else who could give you feedback on your mockup in terms of:
- How user-friendly it is
- What the user experience is like
- What they think about the UX design
- Functionality and usability
Moreover, you can see the feedback being added to your MarkUp in real-time as your teammates pin comments to the design elements that need to be edited or to the amazing sections of your design to congratulate you on your work. 🎉
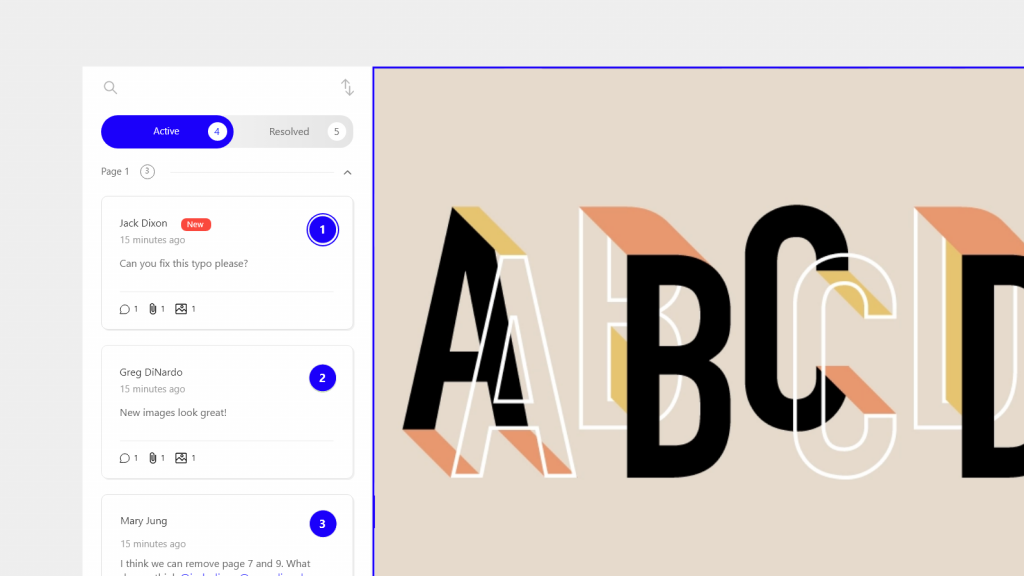
This step is vital to make sure you’re not missing anything important.
For example, you might overlook a low-contrast section of your mockup. In this case, a teammate you shared your MarkUp with can identify the visual accessibility issue and pin a comment on the respective section of the layout.
4. Edit and finalize your mockup
Once you get feedback from everyone in your team, you can start making the necessary edits and resolve the comments pinned to your mockup to keep your MarkUp organized.
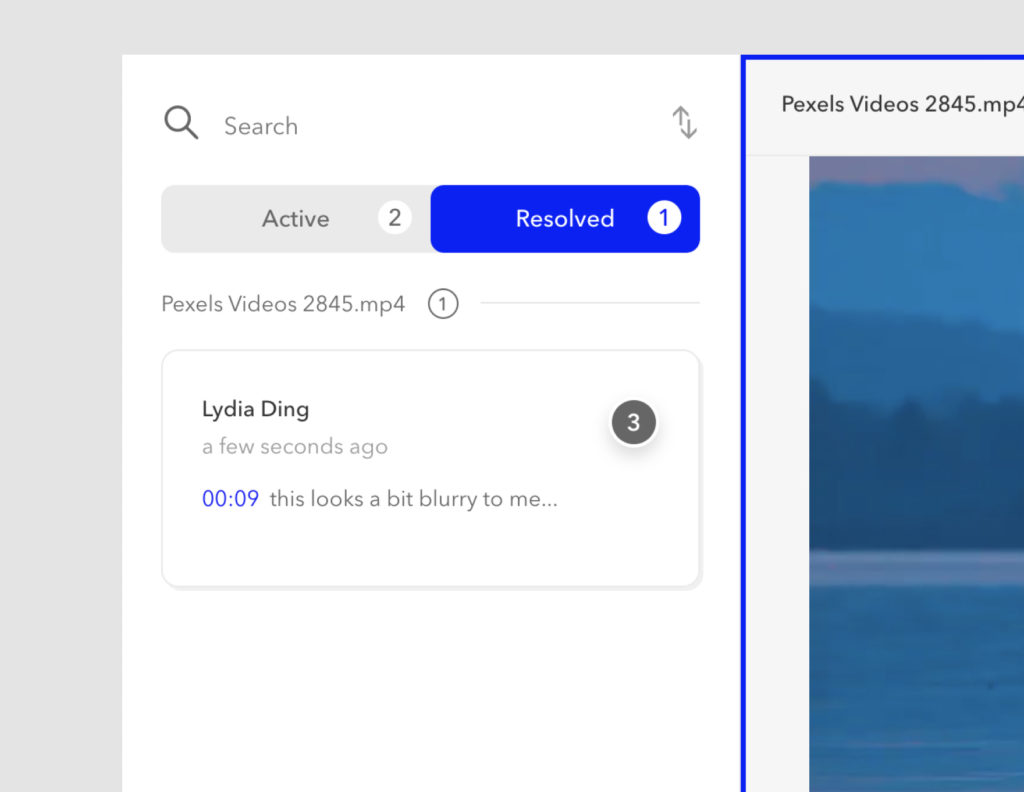
When resolved, comments are not deleted. Instead, they are automatically transferred from the Active tab to the Resolved tab.
Think of the Resolved tab as a reliable feedback archive that you can use for debriefing, establishing guidelines for new clients you’re working with, and tracking your progress as a professional.
Finally, after you save the holy file named “final draft,” your design can go into production and you and your team can get ready for the website launch.
Now that you’ve armed yourself with the necessary tools and knowledge to mockup a website, what are you waiting for?
Now over to you
It’s time you put all this info to good use and start creating stellar website mockups.
Your creative workflow doesn’t need to be hindered by hard-to-implement edits in the final stages of projects anymore.
And, to simplify things even more, you can share your mockups using MarkUp.io.
The platform will help you minimize feedback loops and ensure all stakeholders are on board with your creative vision right from the start. Sign up with MarkUp.io and make mockup reviews a breeze!