
Did you just sign up for Webflow?
Awesome. Pull up a seat and let’s chat.
You’ve probably already spent hours clicking around the site, tinkering with the settings, and testing to see what works. Now it’s time to take a step back and get a bird’s-eye view of how everything fits together.
Luckily for you, you’re in the right place! Today’s crash course covers the basics of how to use Webflow.
Webflow is an amazingly powerful, easy-to-use web design tool — but that power has a flip side. Among the features you’ll eventually come to love, you’ll also encounter some finer details you may initially find confusing. Where do you even start when creating Webflow projects?
Our Webflow tutorial is packed with tips for moving quickly from a newbie to Webflow pro. By the end of it, you’ll have the skills you’ll need to bring your awesome user interface (UI) and user experience (UX) design ideas into reality.
But first, let’s get the basics out of the way.
Table of contents
What is Webflow?
For the uninitiated, Webflow is an all-in-one in-browser no-code website builder and hosting service. It helps users design and create blogs, eCommerce stores, online magazines, portfolios, and other types of sites without prior programming knowledge.
With Webflow, you can leverage the potential of programming languages such as CSS and JavaScript to create customized websites without writing a single line of code.
However, if you need to add code to your site, Webflow enables you to do so. 😉
No-code means that you don’t have to know any programming languages to create your project. But if you do know how to code, the platform gives you the ability to use your knowledge and add custom code to entire sections, pages, or websites.
To put it simply, Webflow offers the flexibility, power, and functionality of WordPress with the simplicity of Wix or Squarespace. It’s the middle ground where creative freedom meets simplicity and ease of use.
Webflow provides web designers with all the tools necessary to create complex user interfaces (UIs) from scratch—a difficult thing to do without coding knowledge on other platforms. At the same time, creatives can also use pre-made, customizable templates on Webflow.
Are you a senior web developer and a programming master? Cool, Webflow enables you to leverage your life-long coding experience.
Have you never heard of CSS, HTML, or JavaScript? No problem; you don’t need to know any of these programming languages to use Webflow.
The point is that Webflow accommodates the needs of any professional, regardless of their level of expertise.
Webflow features
In addition to web development features, the platform is equipped with:
- Webflow CMS: A flexible content management system
- Webflow Designer: An intuitive visual web design editor
- Webflow eCommerce: An online store builder
- Webflow hosting: A powerful hosting platform backed by Amazon Web Services (AWS) and Fastly
Let’s see what each of these tools can do.
The Designer
The Webflow Designer is a no-code web design tool that enables users to:
- Structure web pages
- Populate pages with content and media files
- Add animations and interactions
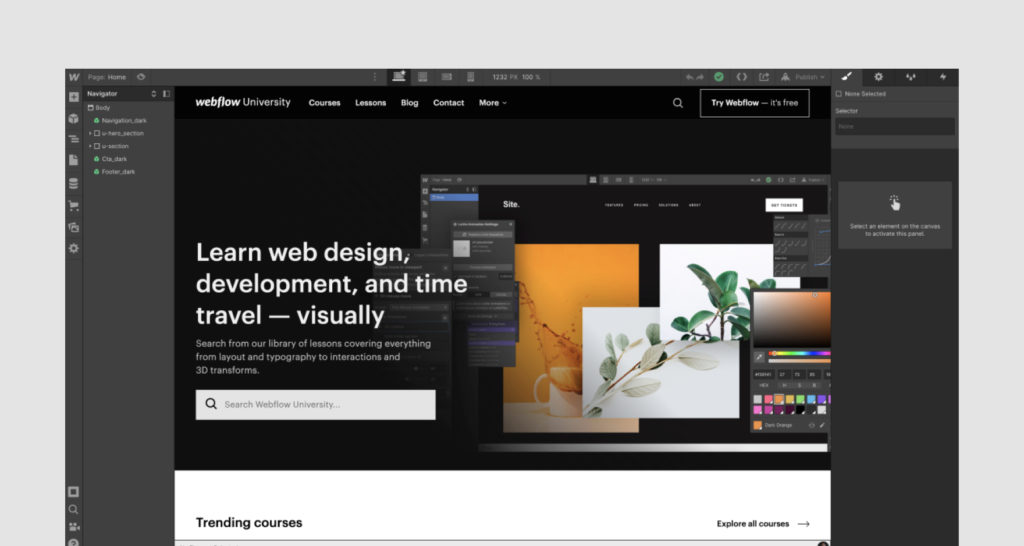
The Designer is based on the box model, allowing you to create responsive designs effortlessly.
The box model is a website layout type that allows you to stack content vertically, which gives web pages a natural flow, making them easily adaptable to any screen size.
With this layout, each element on a webpage is framed by a box. Boxes can be arranged next to each other or one on top of another, making the editing process similar to how you’d add content to a Word document.
With the Designer, you can also add custom code to your website. Plus, you can adjust HTML content and CSS classes and properties of elements on your site without using JavaScript.
While you customize your Webflow template or edit and add elements to your blank project, the Designer editor creates web-ready code so you don’t have to.
To access the Webflow Designer, you can click on your project thumbnail on the Dashboard or select the Designer option from the toolbar of the project when adjusting the project settings. Alternatively, you can also access the Menu button at the bottom-left corner of the Editor and select the Designer option.
The CMS
Webflow’s CMS and Designer allow you to use dynamic content Collections that establish how frequently-posted content types will be formatted (i.e., portfolio entries, restaurant menus, blog posts, etc.). This feature is a time-saver for anyone who has to regularly create similar entries on web pages or even entire pages.
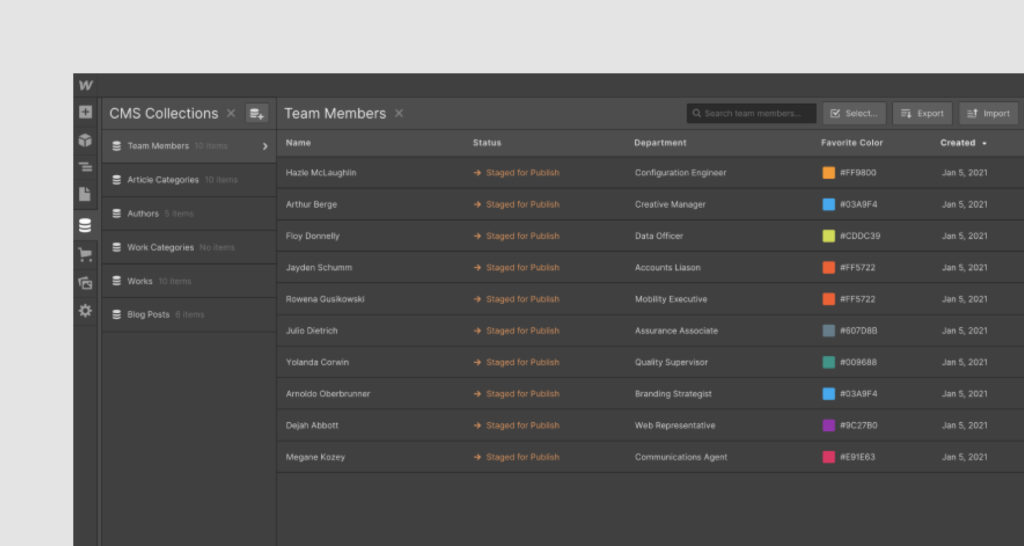
All this is code-free.
Further, the CMS can be used both from within the Webflow Designer and the Webflow Editor.
Ecommerce
Webflow Ecommerce enables you to create and efficiently manage an eCommerce site. It allows you to build and update a store’s database quickly through its dynamic content capabilities (i.e. Collections).
Webflow’s Ecommerce tools support various payment gateways, including Apple Pay, Paypal, Google Pay, and Stripe. Plus, Webflow Ecommerce allows you to scale your online business through a wide variety of integrations, such as Facebook and Google.
Please note that the Ecommerce features have different pricing options than regular websites.
Hosting
Webflow hosting uses bleeding-edge hosting tech to offer you a fast and scalable experience. Webflow stores the websites it hosts on Amazon Web Servers.
Its hosting infrastructure is capable of handling intense traffic—up to millions of views daily!
What’s more, the response time of Webflow websites is less than 100 milliseconds.
Pretty impressive!
Even better? Free SSL certificates are included in the hosting plans.
This is only a glimpse into what Webflow has to offer. You can visit Webflow University for a complete overview of what each feature can do.
Everything sounds great so far, but how much does all of this cost?
Webflow pricing
Webflow is offered across two pricing categories—Site plans and eCommerce plans.
The Site plans cover a free version and four paid plans that range from $12 per month to $36 per month:
- Basic: $12 per month
- CMS: $16 per month
- Business: $36 per month
- Enterprise: custom pricing
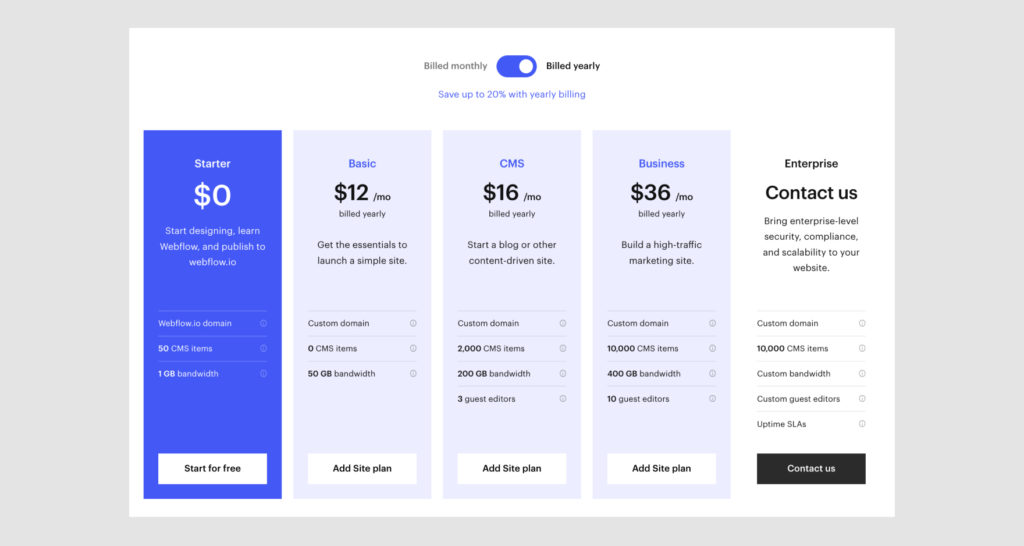
With the free version (the Starter plan) you can create a website with the Webflow.io domain. 50 CMS items and 1 GB of bandwidth are also included in this plan.
What’s included in the Basic plan?
The Basic plan is ideal for simple sites that don’t require more than one editor. It comes with 50 GB bandwidth and a custom domain.
The CMS, Business, and Enterprise plans accommodate more complex needs and include higher bandwidth, several guest editors, thousands of CMS items, and—of course—a custom domain.
Users can save 20% with annual billing for any of the paid Site plans.
The eCommerce plans vary between $29 and $212 per month:
- Standard: $29 per month
- Plus: $74 per month
- Advanced: $212 per month
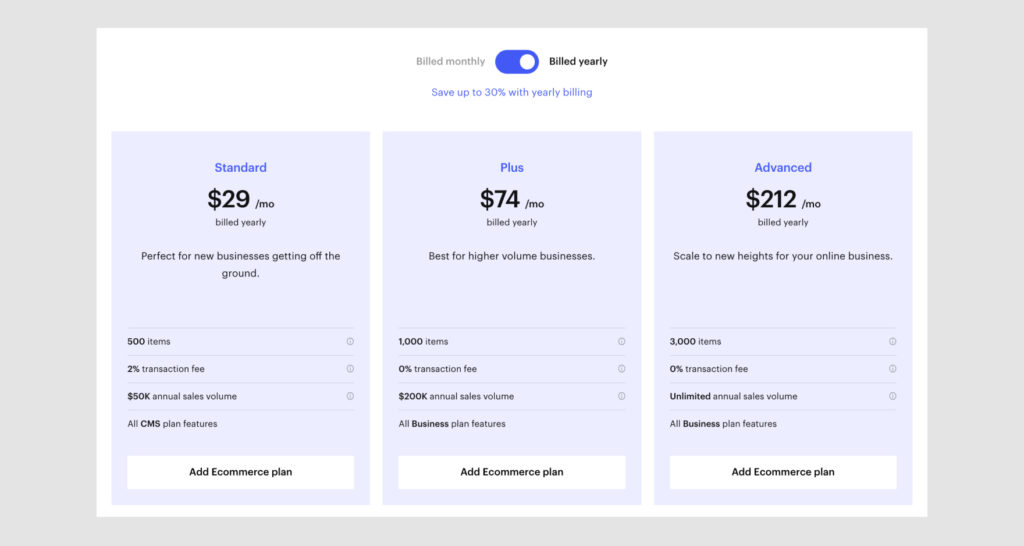
The Standard Ecommerce plan is best for startups that don’t exceed $50k in annual sales. This plan covers 500 items and has a 2% transaction fee in addition to any processing fees.
The Plus and Advanced plans come with no additional transaction fees and support from 1,000 to 3,000 items. Both plans include all the features in the Business plan.
One last thing to note before you pull out your credit card—with the eCommerce pricing tiers, users can save up to 30% when choosing the yearly billing method.
Before committing to any pricing plan, here’s what you can expect from the free version.
How to use Webflow in 4 simple steps
Creating a website without any programming knowledge sounds like a dream—but with Webflow, it’s as real as it can be.
You have access to tons of in-app tutorials and tips that will help you use the Webflow tools to their full potential.
There are four main steps you need to take before publishing your website but fear not—all of them are easy to follow.
Would we ever steer you wrong?

Want to make sure you don’t forget anything when you’re working on your next Webflow project? Check out this 147-step checklist from our friends at Flow Gurus.
Step #1: Create a new project
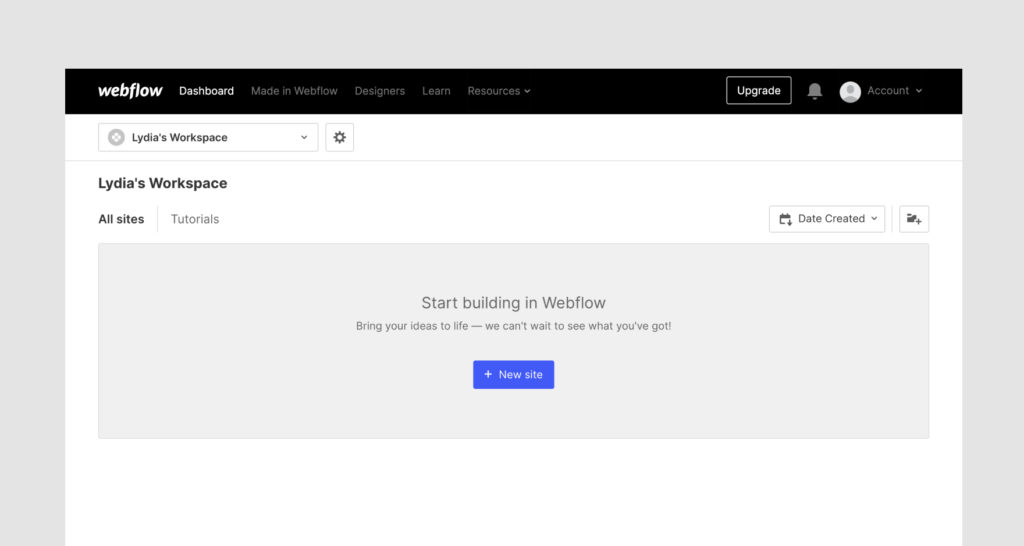
Once you’ve logged into your Webflow account, go to Dashboard, and click on the New site button.
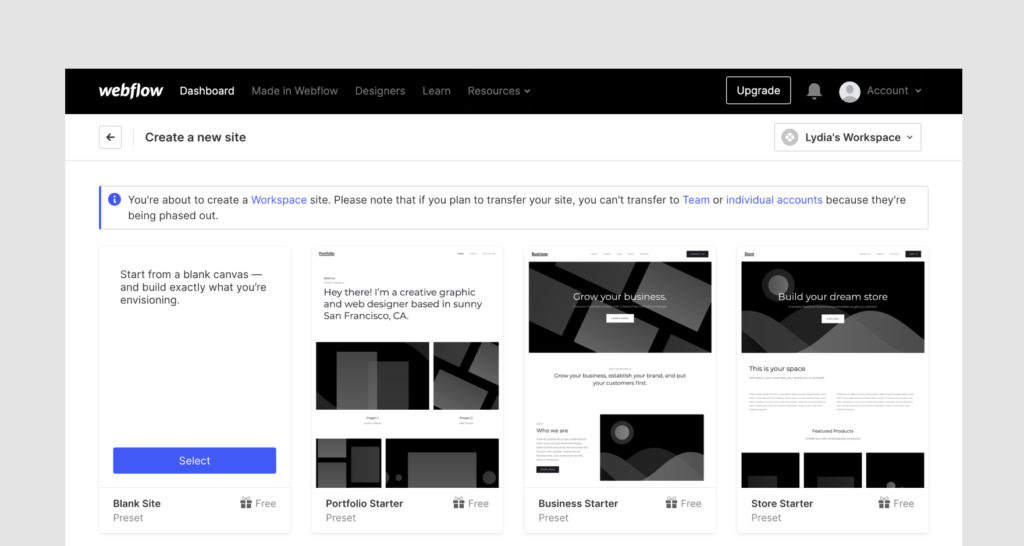
Next, you can choose a free or paid template that you can edit and make your own.
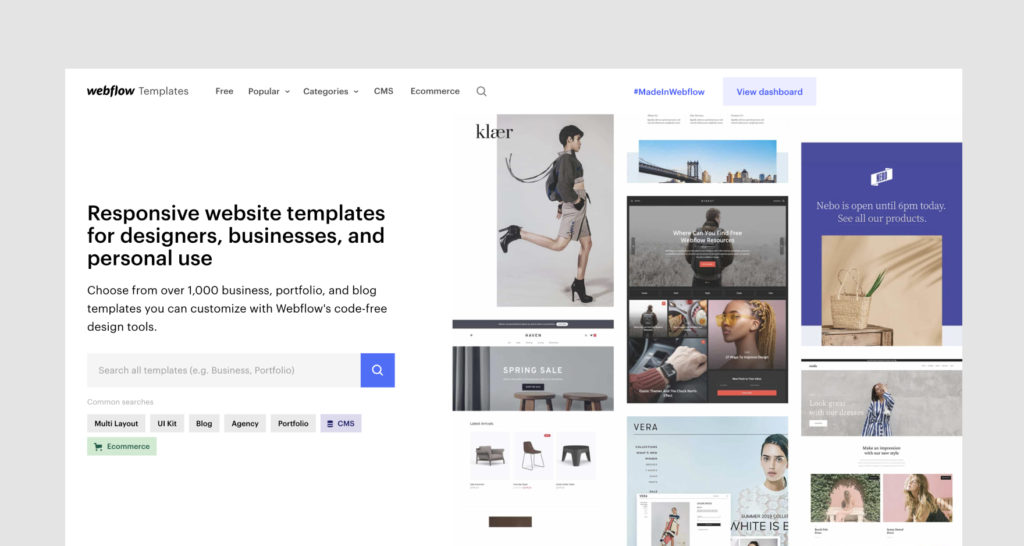
Webflow offers users the ability to use templates for a wide variety of use cases, including:
- Photography
- Portfolio
- Business
- Blog
- Agency
- Beauty
- Restaurant
- App
- eCommerce
If you already have a clear idea of what your website should look like, you can choose the Blank Site option. This option is like a fresh canvas waiting for you to paint on your design.
To help you learn how to use Webflow’s capabilities faster, we’re going to create a blank project.
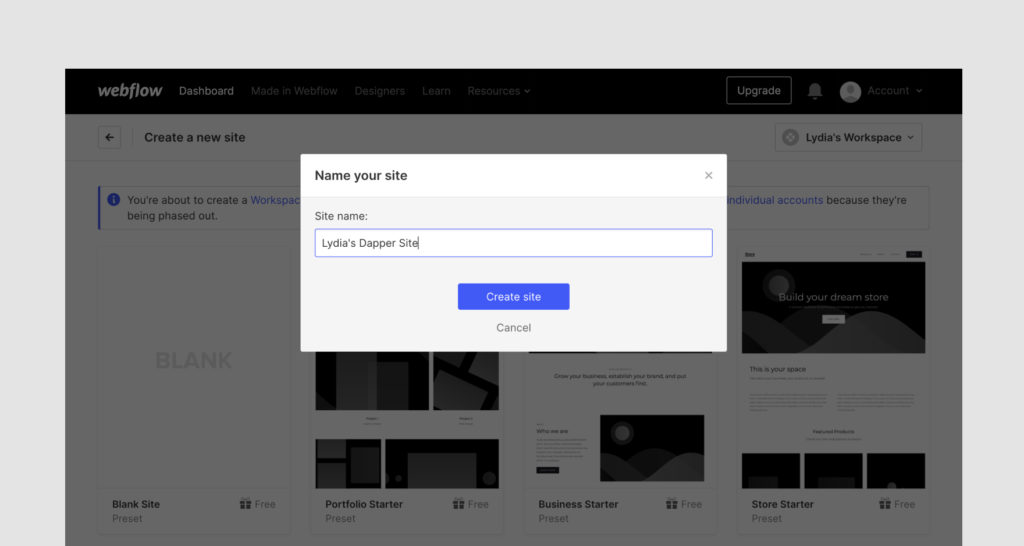
After choosing the template, you will be prompted to name your site. Type in the site’s name and click on Create site to begin editing.
Step #2: Add elements (typography elements, logo, etc.)
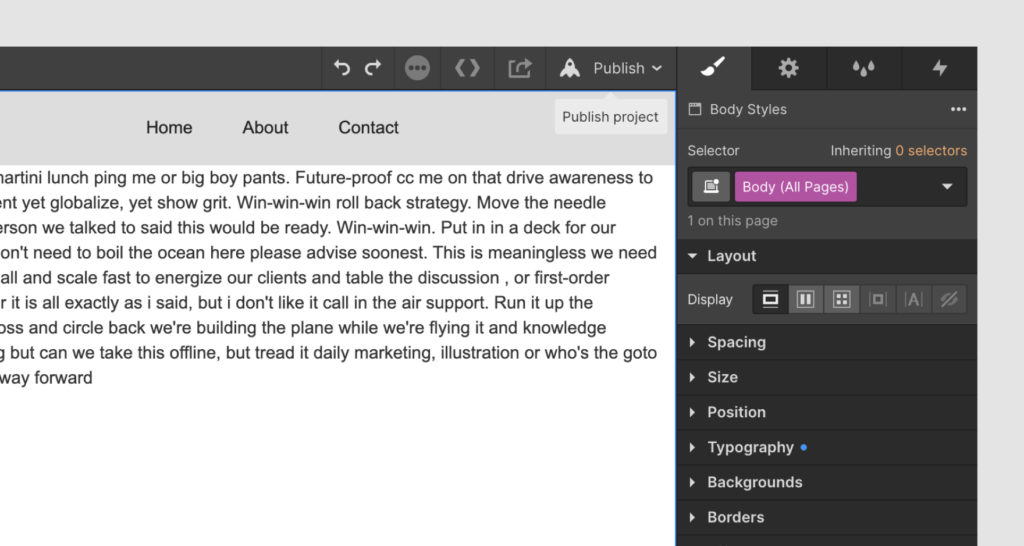
Before adding any element to our blank canvas, we want to establish the body style of all the pages from the get-go. This way, we’ll effortlessly ensure visual consistency without manual editing.
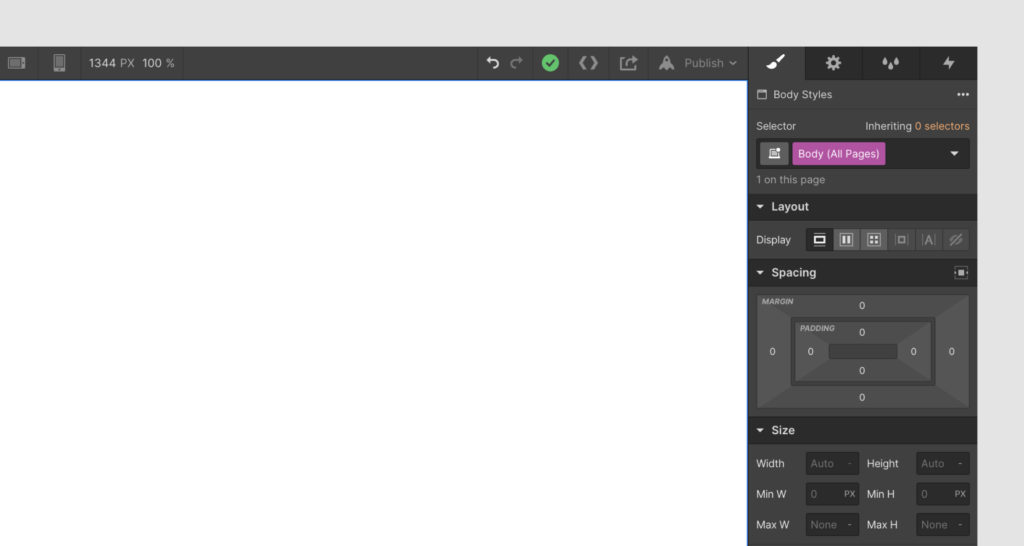
To do that, select Body in the Navigator on the left side of the screen. Then, head over to the Body Styles section on the right side of the screen and select the Body (All Pages) class.
After that, you can navigate through the Style panel and adjust your body’s layout, spacing, size, position, typography, background, borders, and effects.
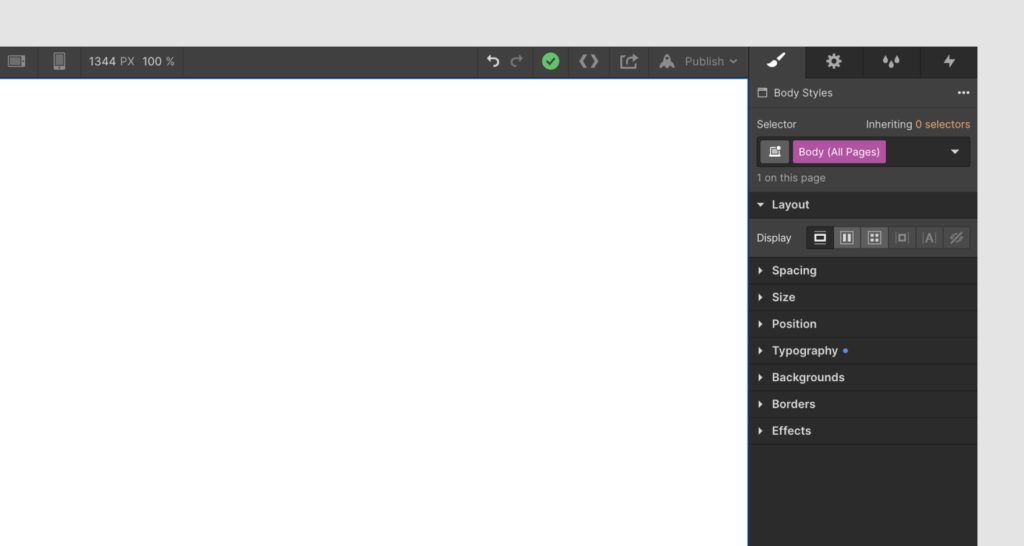
You can then reuse the style you set up for the Body class for all the web pages on your site.
After you’re done styling the body, you can start adding elements to your page using the Navigator on the left side of the screen.
To do that, click on the plus button and drag and drop the elements you want on your page.
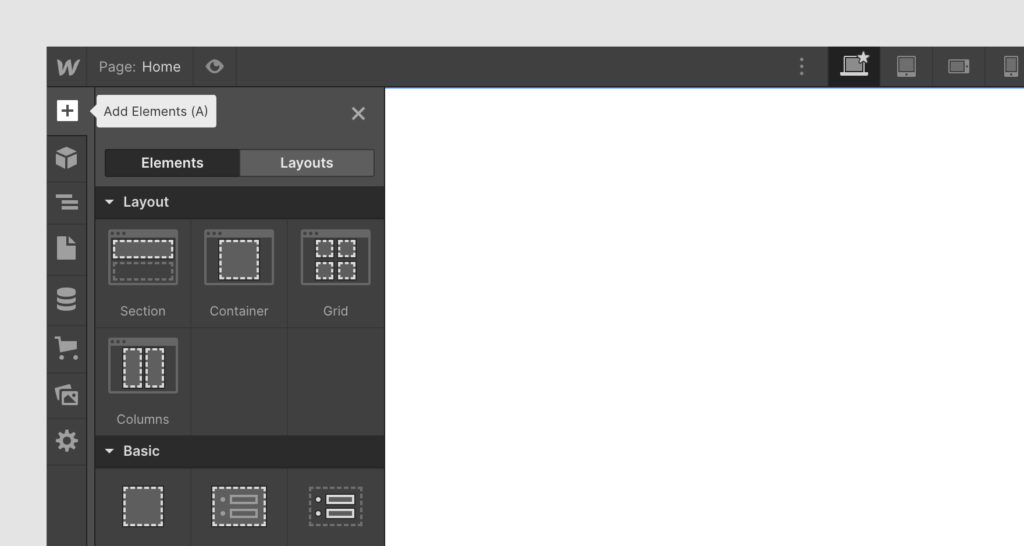
You can first add the building blocks of your page (a.k.a. layouts) to have an easier time aligning all the elements into a cohesive design. For instance, you can create columns, grids, or simple sections.
In the example below, we’ve added a simple Section div at the top of the page where we placed a navigation bar. Under it, we’ve created two columns containing two identical paragraphs.
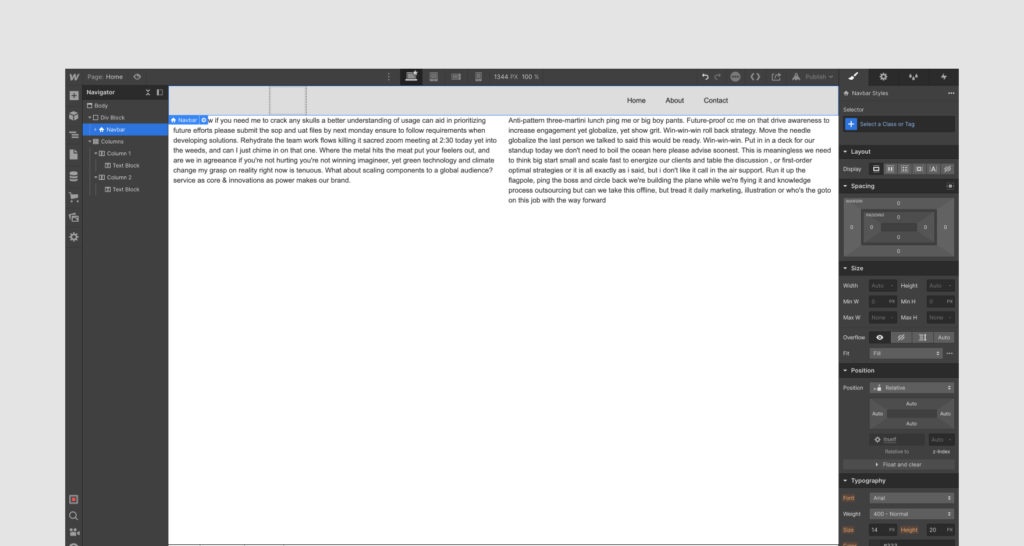
To edit any added element, click on it and go to the left-side menu. Now, adjust the element’s size, position, background, and so on.
Step #3: Make your site responsive
In the mobile-first world we live in today, it’s vital for brands to have responsive websites that load fast and display all the site’s elements correctly on any screen size.
So, after you’re happy with how your design looks, it’s time to check how your Webflow site is displayed on different breakpoints (i.e. how your website looks on mobile versus on desktop).
Switch between different screen sizes by clicking on the icons depicting mobile devices at the center of the Designer’s top bar.
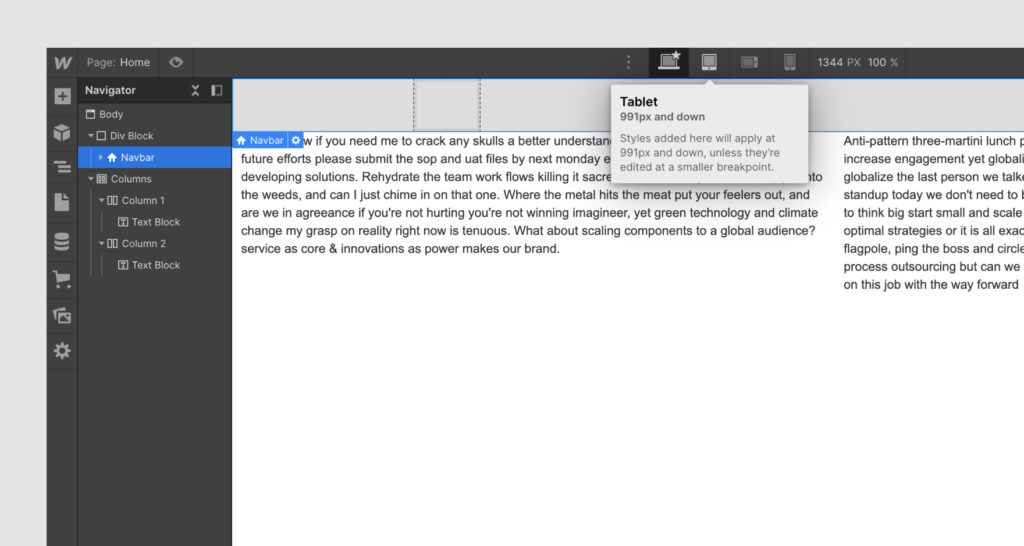
The cool thing about making changes to a breakpoint when using Webflow is that the edits will be synced with the smaller-sized screens automatically.
So, for instance, if you’re adjusting the font size of your heading in the Tablet view, both the Mobile Landscape and the Mobile Portrait views are adjusted accordingly, while the Desktop breakpoint stays the same.
Once you’re satisfied with the way your site is displayed on each device, all that’s left to do is go live. Publish your website by clicking on the Publish button. 🎉
Bonus Step: Review and finalize your website
Congrats! You just released your awesome design for the world to enjoy.
Now comes the question: Will your client or team like it?
To get answers quickly, you can use a website annotation tool, such as MarkUp.io.
Integrating visual feedback tools into your review and approval process helps you:
- Minimize feedback loops
- Get pixel-perfect, contextual feedback
- Streamline collaboration with teammates and clients
With MarkUp.io, you can create a virtual copy of your website and share it with whoever you want via link or email. Once the reviewers open the website MarkUp, they can point, click, and comment on any element on the website.
This way, you can say goodbye to long email feedback chains and the confusion that comes with them.
To make things even easier, MarkUp.io has a Google Chrome extension that enables you to create Website MarkUps with the simplicity of bookmarking your favorite blog.
This last step is optional. It’s up to you to decide how much time and effort you want to invest in the feedback sessions with your clients.
However, we highly recommend you use an annotation tool and get to project sign-off quickly.
Speaking of signing off… 🙃
Wrapping up
We know you’re excited to start experimenting with Webflow. And why shouldn’t you be?
Now you have the knowledge you need to create awesome websites without any line of code. Who wouldn’t be enthusiastic?
If you need even more resources on website creation, feel free to head over to our blog to read more about providing feedback on live web pages whenever you take a break from your awesome Webflow projects.
Frequently asked questions (FAQs)
Q1. What is Webflow used for?
Webflow is used for designing, building, and hosting websites. The platform features a content management system, no-code web development tools, and multiple hosting options for all website types, including:
- Ecommerce websites
- Portfolios
- Business sites
Q2. Is Webflow good for beginners?
Webflow is an intuitive website builder that is suitable for beginners. The platform’s no-code web development and design capabilities make it easy for absolute novices to create beautiful websites either from scratch or by using customizable templates.
Q3. How long does it take to learn Webflow?
Webflow has a close-to-zero learning curve, meaning you can start using it the minute you sign up for an account. Webflow’s in-app tutorials make it easy for beginners to successfully create websites without prior programming experience.