
Designers, creative professionals, and agencies come closer.
Aside from Slack, Trello, or emails, do you have a system designed to handle your feedback process?
*Scratches head to think of other options*
Reviews are an important part of your workflow, so you want a system that simplifies them.
An option that fits that description is 🥁drumroll please🥁 … an image annotation tool.
If you’re wondering what that is, don’t worry; we’ll tell you all about it in this guide.
So, hang on to your hats, guys; this will be an interesting ride!
Table of contents
- What is image annotation?
- Two types of image annotation
- Image annotation use cases
- How does image annotation work?
- Image annotation best practices
What is image annotation?
Image annotation is a process of adding visual notes or comments to digital images for the purpose of proofing. It helps reduce misunderstandings and friction during this process.
Image annotation is a better improvement than getting feedback through communication tools because it avoids long, confusing threads.
It typically involves:
- Getting an invitation to review design elements
- Assessing it and pinning your comments to the elements that need edits
- Requesting precise revisions
- Receiving a high-quality final draft faster
Remember this popular cat meme where the teacher was kinda showing the cat what she did wrong?

Image annotation is a little like that.
But in a digital environment.
Let’s say the cat is a designer, and the teacher is a stakeholder reviewing the designer’s work.
The way the teacher holds up the paper and points to what needs to be fixed is how in-person contextual feedback works. Image annotation aims to give creatives the same experience, just in a digital environment.
In addition, annotation helps streamline communication and creative collaboration between the reviewer and designer, adding clarity and context (and speed!) to reviews.
If the definition of image annotation got confusing for a second, it might’ve been because you read at some point that image annotation is a totally different thing than what we say it is.
Well, that’s because there are two types of image annotation. We’ll explain how they differ now.
Two types of image annotation
In addition to its primary definition, image annotation can also be used to define a more complex process.
Let’s explore these two image annotation types to understand which does what.
Automatic image annotation for computer vision
Artificial intelligence (AI) is becoming an important part of our daily lives. People who leverage this technology use it to simplify their daily tasks and reduce repetitive work.
Take AI-powered virtual assistants like Amazon’s Alexa or Apple’s Siri. They’re like an all-knowing personal assistant that can help you schedule meetings, book calls, organize your calendar, and do a whole lot more.
For AI to be that powerful, engineers must train machine learning models. These models can identify and derive information from images and other visual and audio inputs.
A huge part of this training is referred to as image annotation.
It involves assigning labels or metadata to real-world images in a dataset to train artificial intelligence.
Simply put, image annotation services for computer vision provide information about an image so AI can identify it without human supervision, like in the McMarvin example below.
This AI has been trained to detect different elements when exposed to visual inputs, including people, cars, traffic lights, etc.
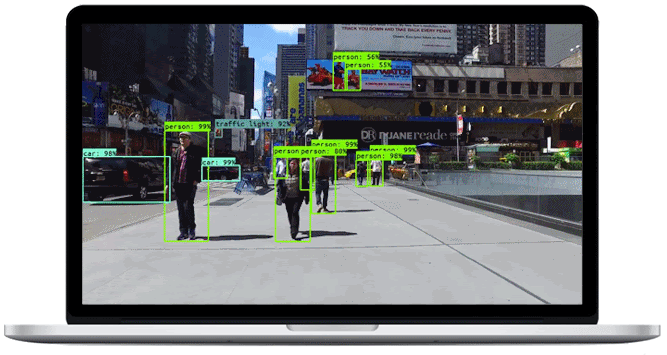
Fun fact: this is how self-driven cars know not to collide with human beings or other objects on the road.
Different types of annotations can be applied to images when training a deep-learning model.
They include:
- Image classification: An image annotation process that involves assigning class labels to an object of interest (e.g., people, plants, animals, etc.).
- Object recognition and detection: Also referred to as image recognition or object detection. The process involves finding if specific objects are present in the entire image.
- Boundary recognition: A time-consuming technique that trains a machine learning model to define boundaries, splines, or object lines in an image so the algorithm can identify patterns when labeling images.
- Semantic segmentation: A form of image segmentation that enables computer vision models to determine boundaries between similar objects.
- Landmarking: An image annotation technique that uses labeled image data to help AI identify traits of the target objects, like facial features, gestures, and emotions.
Image annotation for creative professionals
Image annotation is also an important practice in the creative industry, especially during the proofing process. It ensures that designers can get contextual feedback from reviewers.
To help you understand better, imagine the following steps had to be taken every time a review was needed:
- Zip the file (because it’s large).
- Send it via email to the reviewer.
- The reviewer unzips the file to view it.
- Writes an email back to share their thoughts.
- You don’t understand what they mean and ask for clarification.
- Repeat processes 1-5 until the project is approved.
That’s a whole lot to go through just to get feedback, don’t you think?
With image annotation tools, creatives can have a more simplified feedback process.
Using MarkUp.io, for instance, you can upload your project and invite the reviewers to review it via email or a shared link.
Once they access your MarkUp, collaborators can click on any element of the image they want to be revised, add comments, and tag the designer. Easy-peasy!😉
But it’s not only creatives who get to enjoy image-annotation tools. Anyone who has gone through the pain of going back and forth on corrections can incorporate annotation tools into their workflow.
We’ve got some use cases of image annotation, so you see how other professionals integrate it into their creative workflow.
Image annotation use cases
…from our previous conversation
…per my last email
If these phrases are part of your proofing process, there’s a good chance you need to try an image annotation tool.
Anyway, here are some use cases for annotation tools across different industries (just in case you’re wondering if it’s a good fit for yours).
Image annotation for agencies
Creative agencies always have to handle digital files, a core deliverable.
As part of their work process, they need to send projects to clients to ask for feedback and, ultimately, their approval.
Going the email route will be like fetching water in a basket, with the same stress and frustration. That’s why most agencies opt for image annotation when researching how to simplify their review processes.
Image annotation for marketers
Marketers collaborate with clients, colleagues, and professionals outside of their organizations.
People count on them to give their two cents about their websites, product images, and much more.
How stressful do you think it’d be if they had to use synchronous communication to provide feedback on clients’ digital files?
Instead, many marketers save time by sending short, shareable links from an image-annotation tool.
Image annotation for remote teams
Remote work is the new norm. At least, that’s what 74% of professionals have said.
And creative teams working remotely need an easy review process in place to avoid wasting time.
With an annotation tool, you can have more simplified communication when working on projects. And getting feedback?
You know the answer to that already. 😉
Image annotation for designers
Annotation is even more popular among designers because, like creative agencies, they create digital images.
By leveraging image annotation, they enjoy a much easier review process when they need feedback from stakeholders.
If you’re about to Google ‘how to annotate,’ hold on a second. We discuss four steps to getting started in the next section.
How does image annotation work?
Let’s get practical and show you how to annotate images step-by-step.
Step #1: Sign up for a MarkUp.io account
To start with image annotation projects, head to www.markup.io and select the Sign-Up button at the top right corner of the page. If you’re registered with us already, simply click Login.

When you sign up, you can opt for a free trial to take the platform for a 30 day test drive.🏎️
There’s also a free plan covering the platform’s core capabilities that you can opt for.
Step #2: Create an Image MarkUp
Once you’ve accessed the dashboard, you can start creating Image MarkUps. There are two ways to do that.
The first option is to drag and drop digital files from your desktop to your MarkUp.io Workspace.

To transfer a file from your computer to the Workspace, click the blue Upload button on the screen.
Use the dialogue box to browse your desktop for the digital file.
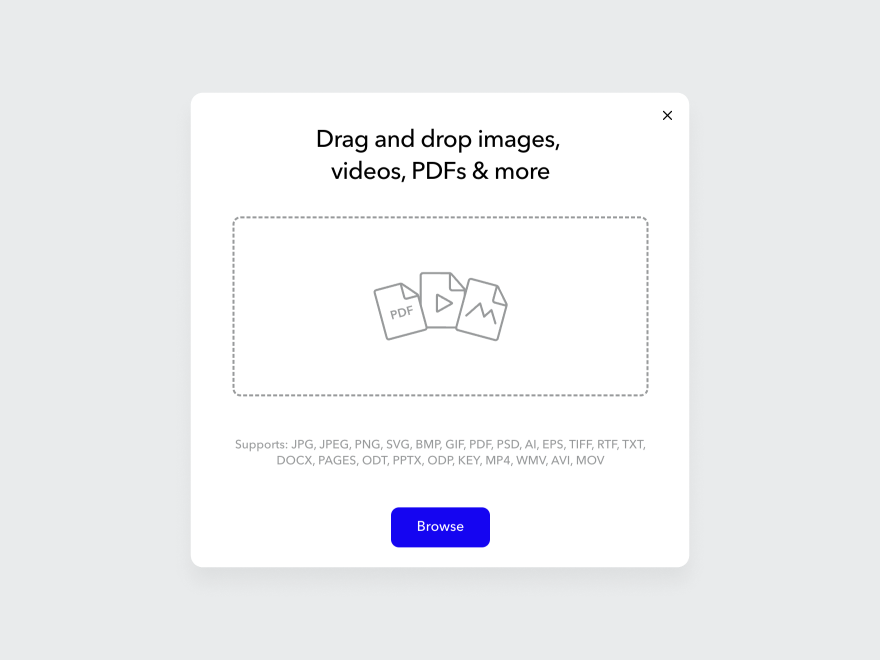
After selecting the image, click the Create MarkUp button to save it.
You’ve successfully created an image MarkUp. What’s next? It’s time to start annotating!
Step #3: Add contextual comments to your image
To start annotating, open the MarkUp by hovering over it and clicking Open.
A new tab will open, and the magic can begin.
Click anywhere on the image to start adding comments.
When you click on an element, a text box will appear so you can write your comment.
Then, you’ll see a toolbar at the top of the box to add emojis, format text, add media, and more.
When you’re done writing, hit the Post button so designers, other reviewers, and collaborators can see the feedback.
Once creatives implement your feedback, they can resolve the comments addressed. The resolved comments are automatically moved to MarkUp.io’s feedback archive – the Resolved tab.
Step #4: Share the MarkUp with stakeholders
What’s the point of commenting if no one sees it?
You can share MarkUps via link or URL with your stakeholders directly from the Workspace itself. Or, you can share a specific MarkUp by clicking Share at the top right corner and sending it out.
Congratulations… you’ve successfully annotated an image. 🥳
That wasn’t so difficult after all, was it?
If you just thought I really need to incorporate this into my work process, we’ve got some added bonuses in the next section that can help you annotate better.
Image annotation best practices
We’ve shown you how image annotation works. Now, it’s only right we give you tips on how to do it more efficiently.
Customize your Workspace(s)
To annotate better, you should know how to use our Workspaces well.
Workspaces are like the storage unit in MarkUp.io, where you can save and organize your MarkUps.
Like storehouses, there are multiple ways to use them depending on the MarkUp.io subscription you opt for.
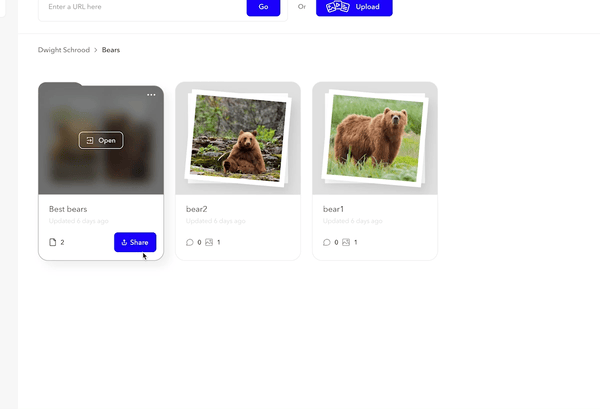
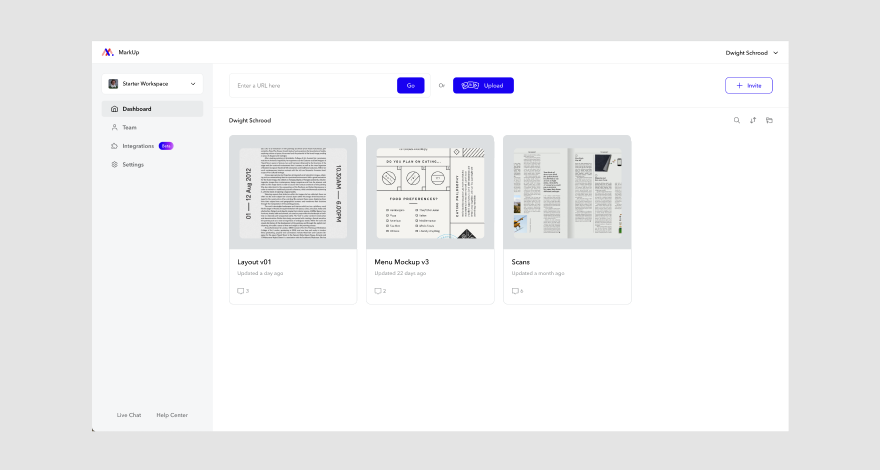
If you go for the Free Plan, you’ll be eligible for one Workspace that can store about 20 Markups. Here’s what that’d look like:
Then you have the Pro Plan, which gives you one Pro Workspace to store unlimited MarkUps.
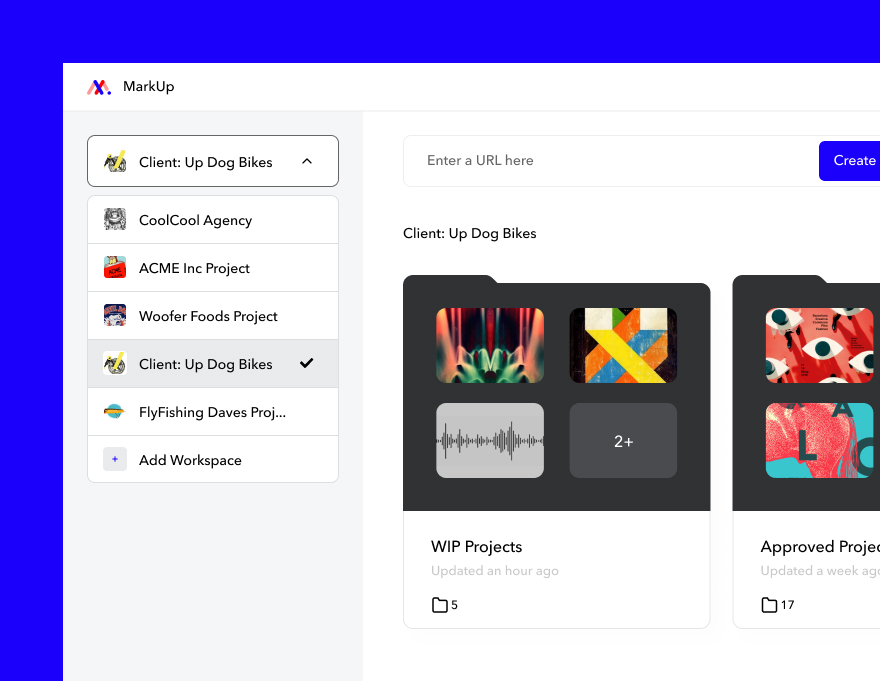
Within the Workspace, you can manage your MarkUps by organizing them into different Folders.
Finally, there’s the Enterprise plan. It allows unlimited Workspaces depending on your company’s needs (and unlimited MarkUps, too!).
You can customize Workspaces to suit the way your organization functions or based on your collaboration with customers.
Organize with Folders
Using Folders during image annotation will help you efficiently manage huge projects that require several revisions from reviewers.
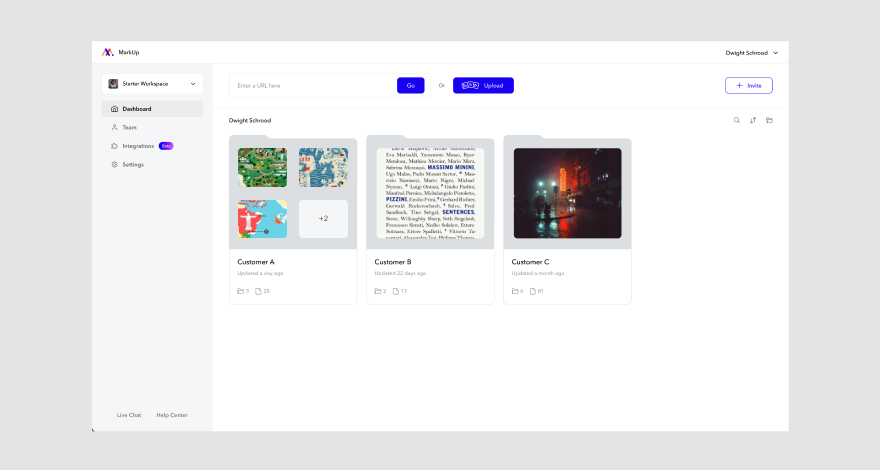
Let’s say your agency has multiple clients. You can create different Folders for each of them and add their representatives. This way, you can ensure there’s privacy for each MarkUp.
In addition, you can create Subfolders of up to five layers in each Folder.
Just like you created Folders for clients, you could do the same for project stages, team members, and even teams.
Assign permissions
Assigning permissions to reviewers is an important practice when annotating on MarkUp.io. You need to be able to let everyone know which MarkUp or Folder they can access and what they’re permitted to do on it, too.
There are four roles you can assign permissions to on MarkUp.io. Here’s an infographic on those roles and their permissions:
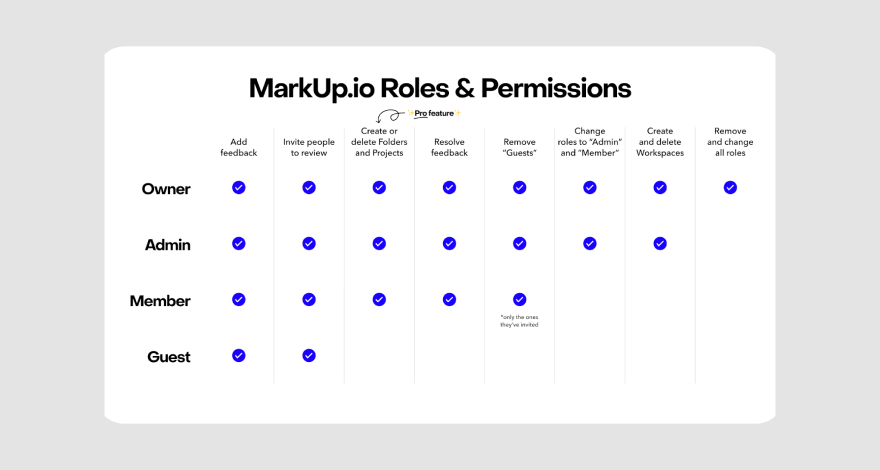
Let’s break them down a little bit.
- Owner: They’re like the CEOs of MarkUp.io’s Workspaces, with the power to create and delete Workspaces they’ve created whenever they feel like it.
- Admins: The vice presidents of Workspaces, Admins. They control who has access to the Workspace and who may edit it. They’re also able to edit Folders and MarkUps. What they can’t do, however, is delete a Workspace.
- Members: They are collaborators who can comment on MarkUps, invite other stakeholders to review, update content, and even add or remove Folders in a Workspace.
- Guests: These individuals are usually clients or stakeholders you collect feedback from.
***
And with that, our journey into annotation has come to an end.
Wrapping it up
But like all journeys, the end of one is the start of another.
In this new journey, we hope you can annotate images without stress.
Not sure if you can do that on your own? We’re gonna be here with you every step of the way.
Sign up for a free 30-day trial with MarkUp.io and start annotating images like a pro!