You’re in a virtual meeting. It’s your turn to present. You’re nervous. But you know you can do this! 💪
Your PowerPoint presentation is perfect.
You did your best to cram the massive wave of info into tiny slides. So, you just hope people will like it. And understand what you’re trying to say.
But as you talk, you see their attention dwindling. Their cameras can’t hide the confusion on their faces.
During the Q&A, you try to explain the most complex concepts. But no one seems to get it.
At that moment, you close your eyes. And think, “I wish there were a tool to help me say this better!”
Little did you know that someone did hear you.
MarkUp.io:
You don’t have to rub a lamp to make your wish come true. All you need is a screen annotation tool. With it, you can draw, mark, and emphasize content directly on your screen.
So, want to add some pizzazz to your virtual interactions? Here’s how to take them to new moons. 🚀
Table of contents
What are the benefits of screen annotation?
How to annotate a website or website design
How to annotate a Zoom meeting
Top 5 screen annotation software tools
What are the benefits of screen annotation?
Let’s look at them:
- Everyone’s in the loop — The right hand always knows what the left is doing.
With a good feedback process, you can overcome any drawbacks. And keep everyone on the same page.
- Makes presentations more engaging — Look, presentations are boring. Well, some of them, at least. You don’t want anyone falling asleep during a meeting, right?
Screen annotation makes things clear. It’s much easier to keep people invested in what you’re saying if they understand the points you’re making.
- Enhances communication — Teamwork makes the dream work! Are you tired of trying to bring everyone together? Or reading endless back-and-forth emails that go nowhere?
Try a screen annotation tool. And make sure everyone collaborates in one single place.
But how do you annotate something?
We can show you the ropes, no problem! Let’s begin with…
How to annotate an image
We’ll start easy. Then, get to the grown-up stuff.
So, images. Why should you annotate them? Let’s begin with a definition.
Image annotation is the process of adding comments to digital images to give additional context or to highlight specific elements. JPEGs, PNGs, GIFs — anything works!
It helps untangle long, confusing feedback loops and speeds up the process, which makes it a better, faster way than using a communication tool. Image annotation works like a charm for marketers, agencies, remote teams, and designers — basically, it fits any use case!
But how can you annotate an image? Let’s see how MarkUp.io does it.
Step 1: Sign up for a MarkUp.io account.
Head to www.markup.io and move your cursor to the top right corner of the page. Click the Sign-Up button. Already registered? Then, click Login.
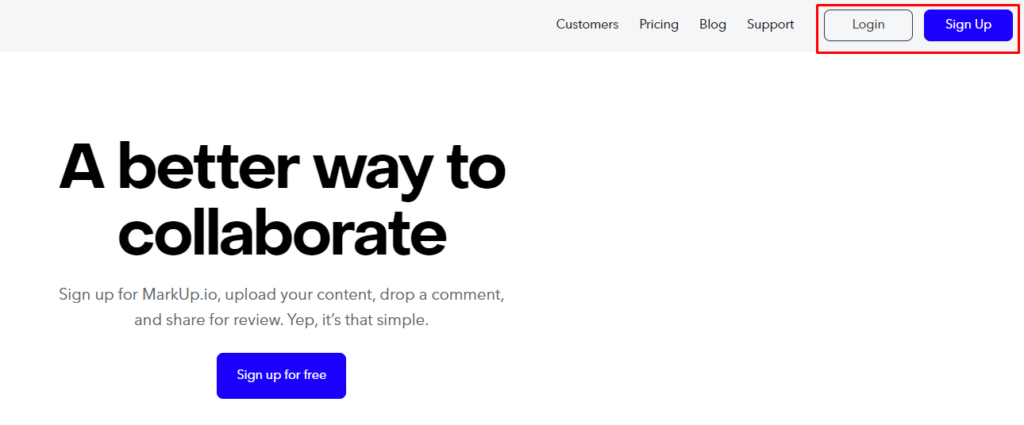
Step 2: Create an Image MarkUp!
Simply drag and drop images from your media library to your Workspace. Or use the Upload button to add your digital file.
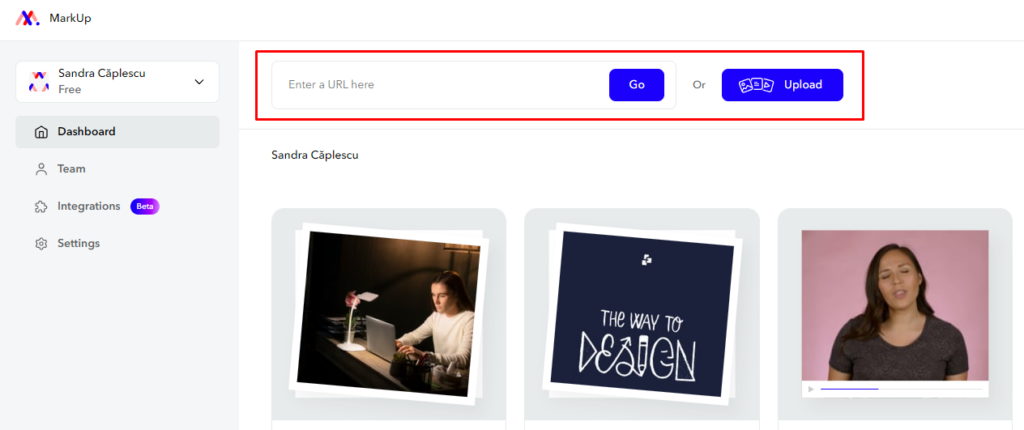
Step 3: To start annotating your new Image MarkUp, simply hover over it and click the Open button. This will open a new window, which is where the magic happens. 😁
Here, you’re free to add comments wherever you want. All you need to do is click on the specific area of the image you want to comment on.
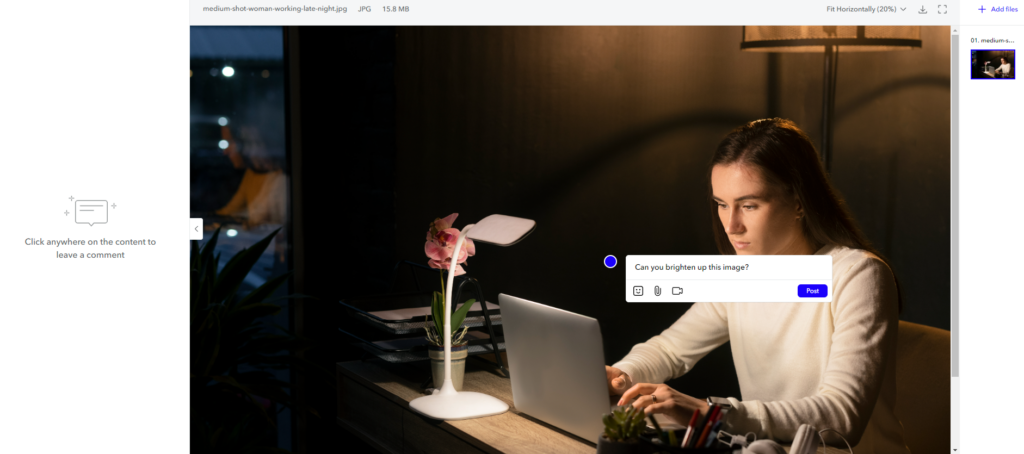
After clicking the Image MarkUp, a comment box will appear. This is where you can freely express your thoughts. Write your comments, enliven them with emojis, format your text, or even add media.
Feel free to experiment until you’re satisfied with your annotation. Once you’re done, simply hit the Post button and voila! Your annotation is complete.
Step 4: Once you’ve finished annotating your MarkUp, it’s time to share it with stakeholders. Start by selecting the MarkUp, then click the Share button.
Enter the email addresses of your team members or stakeholders, and hit Send.
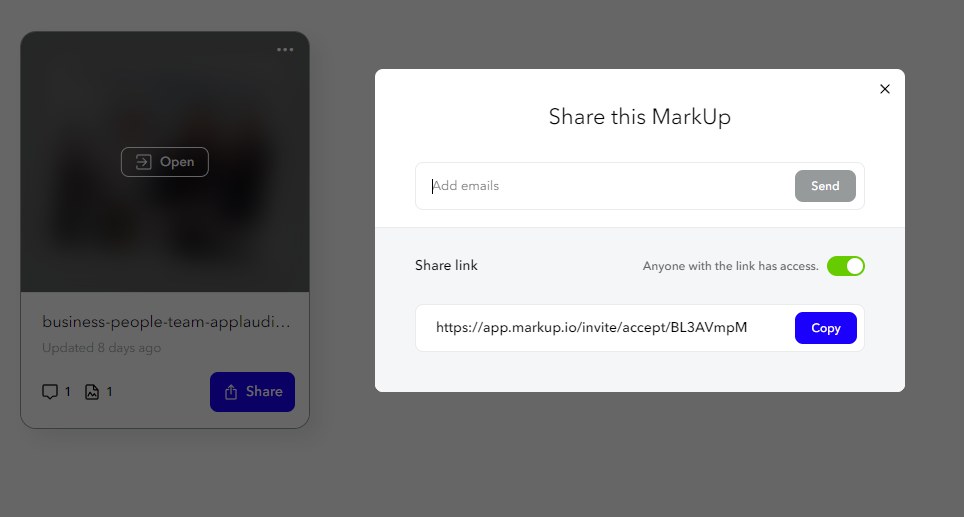
Simply Send.
And just like that, you’ve mastered annotating images with MarkUp.io! But remember, this is just one of many tools available. Feel free to explore other alternatives to find the one that suits your needs best.
Now, let’s explore how to annotate a website.
How to annotate a website or website design
Ugh. Tired of taking countless screen captures of your entire desktop just to share feedback with your developers? Surely there must be a better way!
Fortunately there is — try web annotation.
Yep. With MarkUp.io, you can easily add comments directly to a live page, boosting collaboration and efficiency.
And there’s no HTML code editing involved.
It’s a game-changer for creative agencies, developers, designers, remote teams, teachers, and students alike.
Here’s how to annotate a website using MarkUp.io.
Step 1: First things first, log into your MarkUp.io account.
You already know how to do this from the previous step. 😉
Step 2: Enhance your annotating process by downloading the MarkUp for Chrome extension.
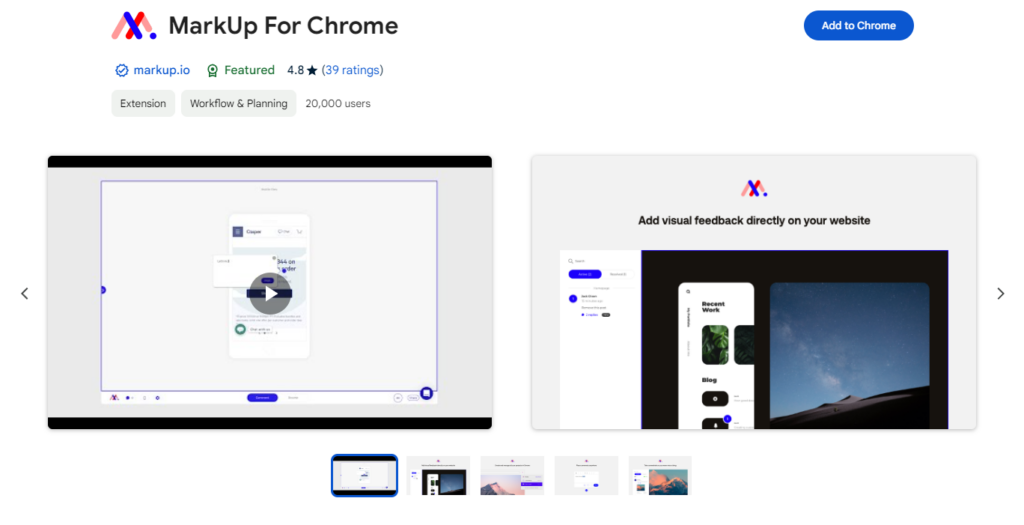
This handy tool is not only free to use for everyone, but it also outrivals many other annotation tools currently available on the market.
The MarkUp Chrome extension lets you easily annotate a web page with just one click.
Just install the add-on, select it from the extensions bar, and hit the Create a MarkUp button. Remember to double check that you’re on the right page before you begin!
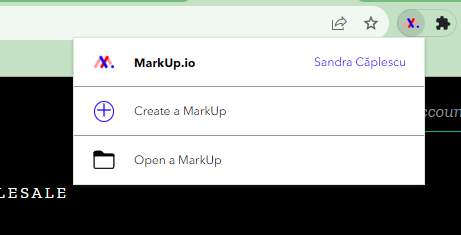
Step 3: Not a fan of extensions? No worries! MarkUp.io is compatible with browsers like Mozilla Firefox, Safari, and Microsoft Edge.
Enter the website URL directly on your MarkUp.io dashboard. Just type it into the Enter a URL here box, click Go, and wait for the page to load.

Step 4: Now, it’s time to leave your annotations. Click anywhere on the MarkUp canvas to start. When you’re done, hit Post.
Finally, don’t forget to share your annotations with your team members for collaborative review. 🙌
Feeling more confident? Great! Let’s move on to annotating videos. Don’t worry; it’s not as daunting as it may seem. 🙃
How to annotate a video
Calling all video and content creators, editors, and creative teams – there’s a more efficient way to provide feedback on your videos.
And get this: it doesn’t involve screenshots or recording.
It’s time for on-screen annotations to shine. This method ensures a streamlined and effective feedback process, especially given the increasing demand for video content creation.
We all know how engaging and fun videos can be, so why should the annotation process be any different?
Follow this step-by-step guide to simplify your video annotation:
Step 1: Start by logging into your MarkUp.io Workspace. This will become second nature soon enough. 😉
Step 2: Next, upload your files into the Workspace. You can either drag and drop the video or upload it from your computer. By now, you should know these steps like the back of your hand.
Step 3: To open your Video MarkUp, hover over it and click Open. Your video will open in a new window.
Step 4: Now, let the fun begin!
Reviewers can click anywhere on the video to leave a comment. Even if the video is playing, a click will pause it at the exact frame for commenting. A comment box pops up like, Surprise!
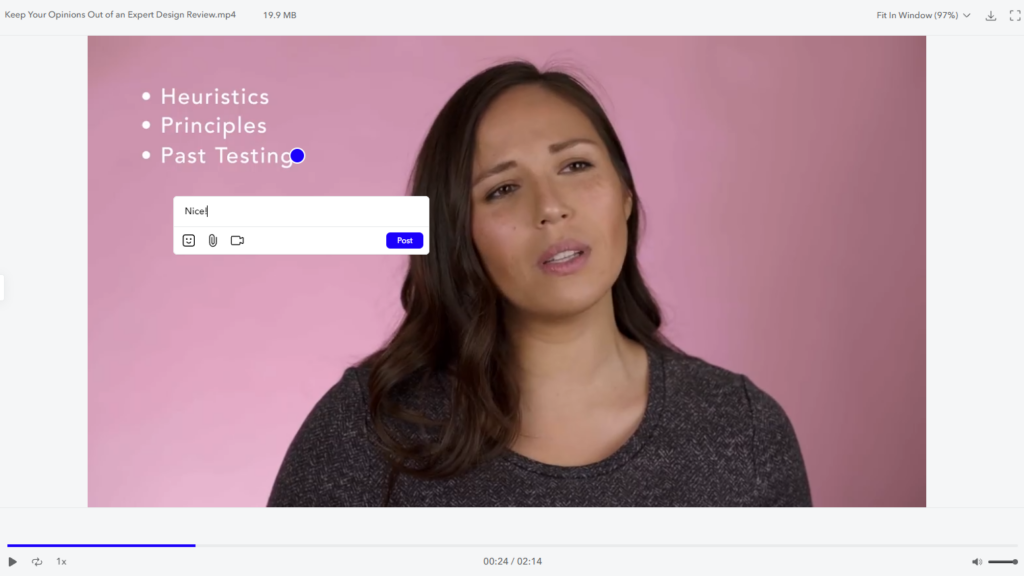
In this box, the annotator can write their remarks and then post the comment.
Annotating PDFs is just as easy. Let’s see…
How to annotate a PDF file
Imagine a world without Portable Document Format (PDFs). Tough, right? PDFs are integral to our daily lives, offering universal compatibility and a common choice for businesses to share eBooks, reports, white papers, and more.
If you frequently send PDFs for review, an annotation tool like MarkUp.io can be a game-changer. Now, you don’t need access to Adobe software to add comments!
Let’s go over the steps to annotate PDF files with MarkUp.io.
Step 1: First, log into your MarkUp.io account. You’re getting the hang of this, aren’t you?
Step 2: Next, upload your PDF. You can do this by clicking the Upload button or simply dragging and dropping the file into the Workspace. This gives you a flexible copy of your file to work with.
Step 3: Now, it’s time to add your comments.
You can select any page from the document. You even have the option to remove or replace pages if needed.
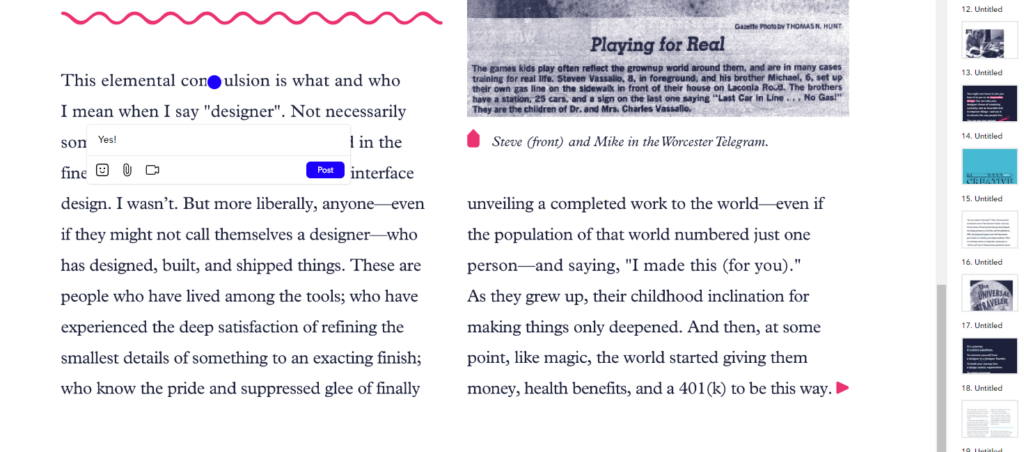
Need a closer look? Adjust the zoom level using the toolbar at the top of the page.
For your ‘shared screen’ needs, the tool also offers a full-screen mode.
Once you’ve mastered annotating PDFs, you’ll be ready to take on our next task: annotating a Zoom meeting.
How to annotate a Zoom meeting
We all know Zoom. Our best friend during the pandemic. The one that helped us connect with our loved ones during tough times. 🫶
People still use it today. Especially businesses with remote teams.
So, if you’re an avid Zoom user, you should know this.
Zoom has annotation features that help you present new ideas more easily by simply sharing your screen. And using one of the writing tools it offers by adding notes directly on the screen, even during a call.
So, no more fumbling. You can make your peers understand quicker what you’re trying to say and get rid of misunderstandings.
With this knowledge, you avoid scenarios like those described in the intro of our article.
While it’s not quite the same as using MarkUp.io, Zoom’s annotation features are still incredibly useful.
Here’s a guide on how to use annotations in Zoom.
Step 1: Share your screen or whiteboard. Your annotation controls should pop out.
They don’t? Well, click the pencil icon Annotate (if you share your screen) or Whiteboard (if you share a whiteboard).

Step 2: Select your tool.
You can do so many things with Zoom! Draw. Write. Insert arrows or shapes. Here’s a brief rundown of the tools:
- Note — Highlight areas on your screen.
- Stamp — Add ready-made icons. ⭐
- Spotlight — Point out part of the screen to other users.
- Arrows — Draw small arrows with your name on them.
- Eraser — Get rid of unwanted parts of your annotation
Step 3: There is no step three. All that’s left to do is present your content. When you’re done, simply end the call.
Success!
It might take some getting used to. But it’s a great feature many teams can benefit from.
Disclaimer: These were the guidelines for Windows, macOS, and Linux. For iOS and Android, check Zoom’s support page.
***
Awesome! We’re done with showing you the ropes.
But you can’t do this alone. You need the right tool for the job. And we found the best ones.
Let’s check them out!
Top 5 screen annotation software tools
Like a chef, you need the proper utensils to streamline the feedback process. Without them, you can’t ‘wow’ your patrons. And you can’t move forward.
So, add screen annotation software to your kitchen.
Here’s a list of some top screen annotation tools, starting with MarkUp.io.
1. MarkUp.io
Hi! It’s us! Let’s show you what we can do.
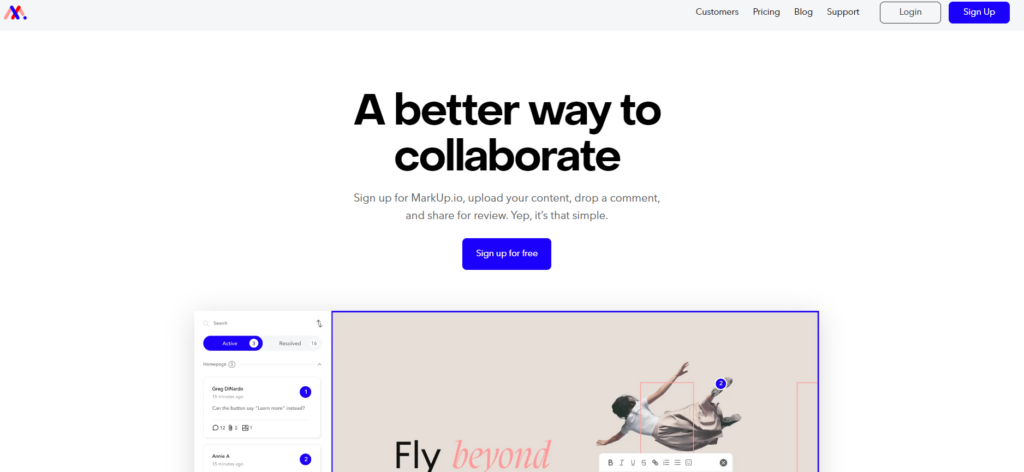
MarkUp.io is a leading visual commenting platform. You don’t have to trust us. 🤭 Trust our reviewers:
“Love using MarkUp. […] All my clients find it very easy to use and it ensures I know exactly where and what they want changed/edited on their sites — such a great tool for me to [collect] feedback.”
Our suite of sophisticated annotation features includes pixel-accurate annotations, freehand drawing, and more, making it easier than ever to share, receive, and organize feedback in real time.
Supporting over 30+ file formats, from PDFs and websites to images, our platform ensures compatibility with the formats you work with most.
We’ve also designed two additional pricing plans for small to medium-sized teams and enterprises, offering an expanded suite of functionalities.
Check those out here.
Key features:
- Freehand drawing: Enables users to draw directly on the content, allowing for nuanced feedback and personalized touches.
- Shape tools: Offers a variety of geometric shapes to highlight areas of interest or concern, so you don’t miss anything important.
- Pointer tool: Allows users to draw attention to specific elements in the content, making collaboration and understanding a breeze.
- Color palette: A selection of colors is available to distinguish between different types of annotations or feedback, enhancing clarity and organization.
- Adaptability: To maintain accuracy across devices, annotations are rendered as screenshots when applied to Website MarkUps.
- Chrome extension: Annotate live web pages directly as you browse with our handy Chrome extension.
- Real-time notifications: Stay connected with your team through notifications that alert you to changes as they happen.
| Pros | Cons |
| Supports 30 different file types Chrome extension for live web annotations Comprehensive annotation features including freehand drawing, shape tools, pointer tool, and a color palette | Currently does not support Zoom annotations for detailed review |
2. Loom
Loom is a free screen recorder for Mac and PC, highly useful for sales, design, marketing, product management, and education teams.
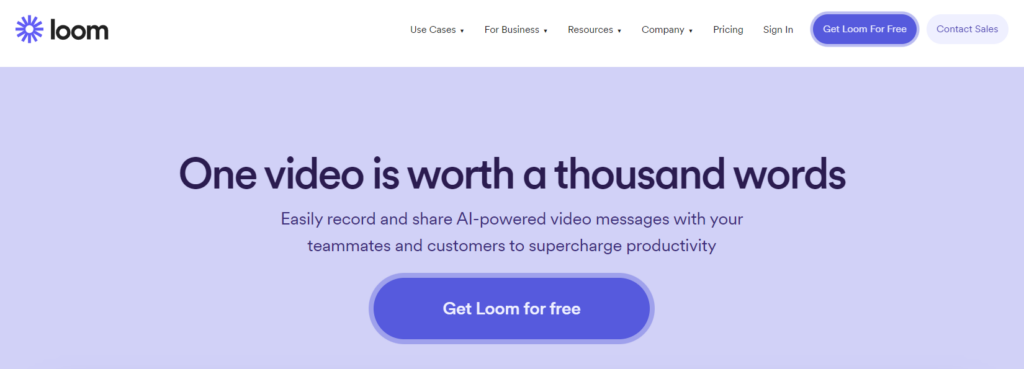
Easily record video messages with your teammates. Then, annotate directly on the vid.
It’s great for presentations, highlighting elements, and circling key info. Plus, you have many annotation options.
With Loom’s pen tool, you can add text, adjust the color or line thickness, and even include emojis to make your annotations more engaging.
For extra convenience, MarkUp.io offers a Loom integration, allowing you to leverage the power of both platforms. 🦾
Key features:
- Sticky notes — Add bullet points directly on your screen while you’re doing the presentation. It’ll give you a boost of confidence (and they’re not visible to others!)
- Multi-page annotation — You can annotate multiple pages or screens that help guide users through your content.
- Pen tool — Highly useful for getting your points across and making it extra clear for your viewers.
| Pros | Cons |
| Easy screen recording Multiple annotation options | Few integrations |
3. Pastel
Pastel is an annotation tool for marketers because it helps them review and approve digital marketing assets faster.
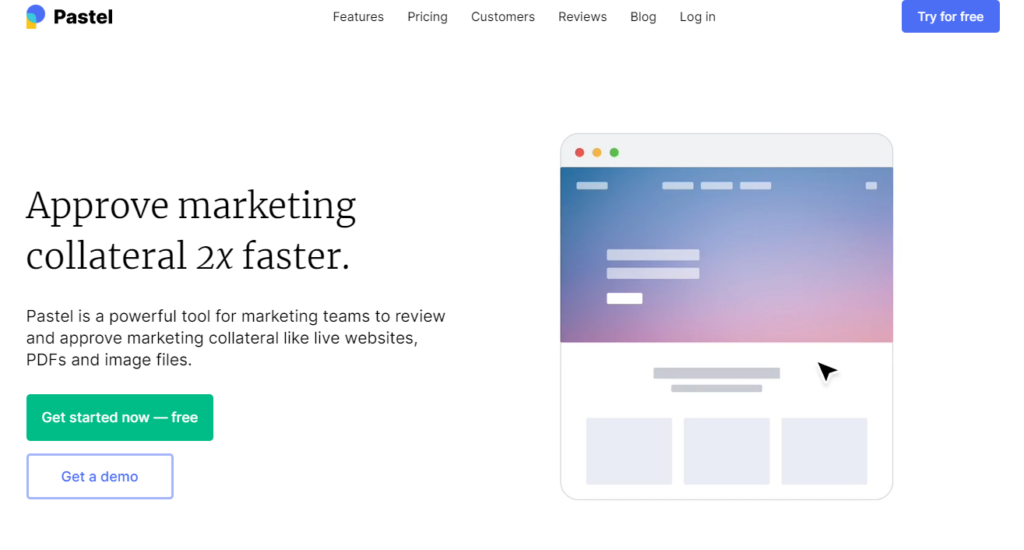
So, if you dabble in the marketing industry, this is the perfect annotation tool for you.
It enables you to share and get feedback on different marketing assets.
Users can leave comments on PDFs, live websites, or image files. However, it’s mostly suitable for more efficient website reviews because Pastel offers tags, timelines, and a clear audit trail to make sure nothing slips through the cracks.
The best part? You can use this tool on any device, from any browser.
Key features:
- Label-based comment system — This feature helps you keep feedback organized. Labels are entirely customizable, so it can either indicate the project’s status or whatever you want!
- Real-time comments — Your users can leave comments on all digital marketing assets in real time, so your team is all on the same page.
- PDF, image, and website annotations — Pastel offers annotations for different content types, enabling better collaboration.
| Pros | Cons |
| Minimal user interface Asynchronous feedback | Might be more expensive than other alternatives |
4. Filestage
Filestage is another great annotation tool that’ll surely put a smile on your face whenever you use it.
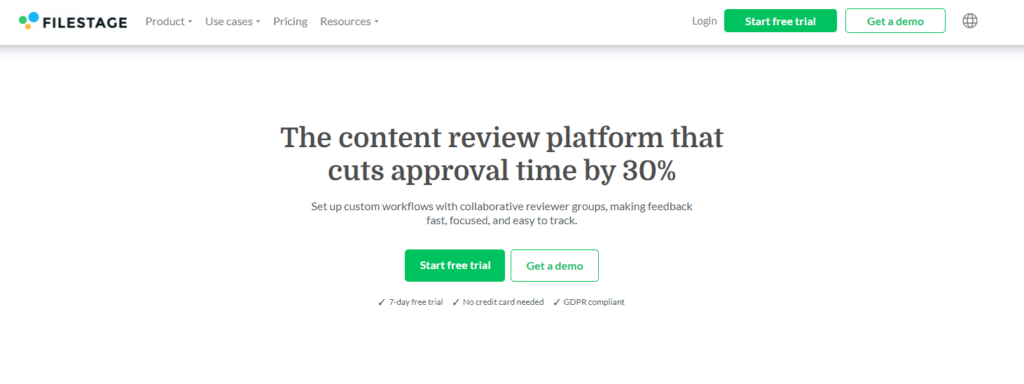
It simplifies the review-and-approval process through tools such as shapes, comments, highlights, sticky notes, etc.
In addition, Filestage also helps you annotate multiple file types like social media posts, UX design, and videos through point-and-click comments or drawing tools.
The tool also has version tracking and comparing, allowing you to see which version is the right one or who made changes. Paired with project-progress tracking, you can meet deadlines on time, removing unwanted errors.
Key features:
- Multiple file-type annotations — Like other annotation tools, you can comment on various files, such as websites, videos, designs, mockups, social media posts, and emails.
- Version and project status tracking — This feature lets you track the progress of your project, so your team is always on the same page with where the project is in development.
- File attachments in comments — Need to explain your idea? Filestage allows you to add attachments to your comments, no matter the size.
| Pros | Cons |
| Easy navigation Has a mobile version | Notification system could be improved |
5. Annotate
Annotate is a tool for enabling smarter document collaboration by allowing meeting participants to write, mark up, and highlight content in real time.
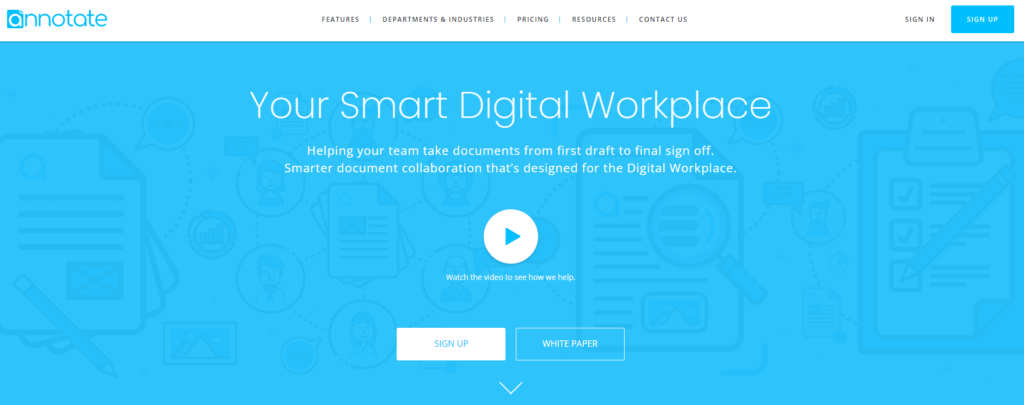
It helps creatives better manage, annotate, and share their deliverables by inviting everyone (stakeholders, clients, or employees) to work together in a single document, from first to final draft.
Annotate is a highly useful tool for people in tech, financial services, media, and marketing.
One of the unique features of Annotate is its integration with Microsoft Office.
Key features:
- Document and PDF annotation — You can create in-document notes to resolve issues more quickly and accurately.
- Ability to highlight text — Point out important parts of the document with Annotate’s feature, so users can clearly see what’s what.
- Color-coded organization system — You can select a color for each type of feedback. For example, red is for grammar issues, blue is for suggestions, etc. Make it a rainbow!
| Pros | Cons |
| Suits different industries Easy document and PDF annotation | Pricing only available on request |
***
See? Wouldn’t your life be better with screen annotation software? It makes the feedback process faster and collaboration easier. You say ‘Goodbye’ to time-consuming feedback sessions and long email threads.
So, yes. Your life would be better with screen annotation tools.
Now, we want to ask: did one tool in particular catch your eye? 😉
Don’t answer just yet! Read the outro before making a choice.
Level up your screen annotation game
Imagine leveling up your annotation game, enhancing your team’s collaboration, and making your workflow more efficient.
Are you picturing it yet?
With a screen annotation tool, this is not just a dream – it can be your reality.
While we’ve explored several excellent options in this article, we believe that MarkUp.io provides a unique blend of features that can truly elevate your annotation and collaboration experience.
If you’re curious to see how it could transform your workflow, why not give it a try?
Sign up today for a free 30-day trial and experience the benefits of MarkUp.io up close and personal. It’s a chance to explore the tool’s capabilities and see if it’s the right fit for your needs.
Happy annotating!

